How to Compost at Home (Without the Smell)
Everyone wants the black gold of finished compost — free, rich soil amendment that makes gardens thrive. Nobody wants the reason most people quit: a slimy, stinking bin that smells like a dumpster and breeds fruit flies. Here’s the truth compost evangelists undersell: smell is not a normal part of composting. It’s a diagnostic signal — your pile is telling you exactly what’s wrong, and every cause has a simple fix. A properly managed home compost bin smells like forest floor: earthy, sweet, alive. Here’s how to get there and stay there.
Why Compost Smells (The Science in 60 Seconds)
Composting is aerobic decomposition — oxygen-loving microbes breaking down organic matter. Smell happens when the process goes anaerobic (oxygen-starved): different microbes take over, producing hydrogen sulfide (rotten eggs), ammonia (sharp urine smell), and volatile fatty acids (sour, vomit-like). Three imbalances cause anaerobia: too much nitrogen-rich “green” material (food scraps, grass) without enough carbon-rich “brown” (leaves, cardboard), too much water (soggy piles exclude air), and too little turning (compacted centers suffocate).
Diagnose by smell: ammonia/sharp = too many greens, add browns. Rotten eggs = anaerobic and waterlogged, turn thoroughly and add dry browns. Sour/vinegar = acidic anaerobic pockets, turn and add browns plus a handful of garden lime or wood ash. No smell but nothing happening = too dry or too many browns — moisten and add greens. Your nose is a precision instrument here; learn its vocabulary and you’ll never have a mystery stink.
The Smell-Proof Setup From Day One
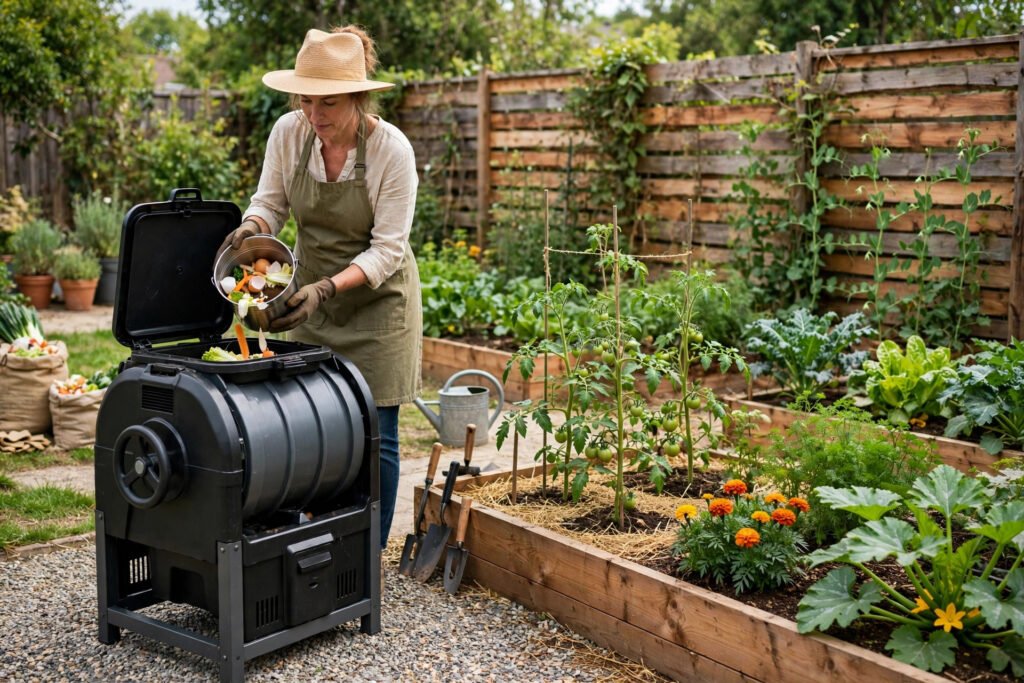
Choose the right bin: for smell-sensitive situations, a sealed tumbler composter beats an open pile — enclosed, pest-resistant, easy to turn (a few rotations weekly), and it contains odors during the brief moments of imbalance. Dual-chamber tumblers let one side cure while you fill the other. If you prefer bins, a well-ventilated plastic or wooden slatted bin works — ventilation is non-negotiable for aerobic composting.
Location matters: place the bin on soil (not concrete — soil contact introduces decomposer organisms and drainage), in partial shade (full sun cooks piles dry; full shade stays soggy), at least 10 feet from the house and property lines, with airflow around it. Start every bin with a 4–6 inch base of coarse browns (twigs, wood chips) for drainage and airflow from below — this single step prevents the anaerobic bottom layer that causes most persistent smells.
The golden ratio: roughly 3 parts browns to 1 part greens by volume (the famous 30:1 carbon-to-nitrogen ratio). In practice: every time you add food scraps, cover with twice the volume of browns — shredded cardboard, dry leaves, newspaper. Keep a bag of browns next to the bin so the habit is frictionless. Bury food scraps in the pile’s center rather than leaving them on top — exposed food smells, attracts flies, and annoys neighbors; buried food composts invisibly. This one habit eliminates most odor complaints.
What to Put In (And What Causes the Stink)
Safe greens: fruit and vegetable scraps, coffee grounds and filters, tea bags (remove staples), fresh grass clippings (in thin layers — thick mats go anaerobic), eggshells (crushed). Safe browns: dry leaves, shredded newspaper and cardboard (no glossy coatings), straw, wood chips, paper towels (unbleached, no chemicals).
Never compost: meat, dairy, fats, and oils — these are the primary smell offenders, putrefying anaerobically and attracting rats and raccoons. Also skip: pet waste from carnivores (pathogens), diseased plants, weeds gone to seed, charcoal ash, and glossy/colored paper. The “can I compost it?” rule: if it smells bad rotting in your kitchen, it’ll smell bad rotting in your bin — keep the troublemakers out and the bin stays sweet. Finished compost transforms raised garden beds — a 2-inch top-dressing yearly is the single best thing you can do for bed soil, closing the loop from kitchen scraps to harvest.
The Weekly 5-Minute Maintenance
Smell-proof composting is a 5-minute weekly habit, not a project. Turn or tumble weekly: introduces oxygen, redistributes moisture, accelerates everything. Check moisture: squeeze a handful — it should feel like a wrung-out sponge, the same standard the USDA’s Natural Resources Conservation Service uses in its composting guidance. Dripping = add dry browns; crumbly = sprinkle water. Maintain the brown cover: fresh scraps always buried under browns. Harvest rhythm: finished compost (dark, crumbly, earthy-smelling) collects at the bottom of bins or in the curing chamber — sift out twice yearly.
Seasonal notes: winter slows everything (insulate with extra browns or a tarp in cold climates — the pile won’t freeze solid if it’s active and large enough); summer speeds it but needs more moisture monitoring. Fruit flies in summer mean exposed food — bury deeper and cover with browns; a vinegar trap nearby handles stragglers. If you garden in small spaces, balcony gardeners can compost too — compact tumblers and even worm bins (vermicomposting, virtually odorless indoors) work in apartments.
Worm Bins: The Odorless Indoor Alternative
No yard at all? Vermicomposting — composting with red wiggler worms — works in a closet, under a sink, or on a balcony, producing the finest compost of any home method with virtually zero smell. A simple stacked-bin system ($40 DIY or $100 purchased) houses a pound of worms that process half a pound of scraps daily, turning them into worm castings — a fertilizer so prized gardeners buy it bagged. Maintenance is minimal: feed weekly (bury scraps under bedding), keep bedding damp like a wrung sponge, and harvest castings every 3–4 months. The common fears are unfounded: managed correctly, worm bins don’t smell (the earthy scent is pleasant) and worms don’t escape (they flee light and bad conditions — if they’re trying to leave, something needs fixing, usually overfeeding). For apartment gardeners, it’s the perfect complement to growing low-maintenance indoor plants — waste in, black gold out, all within 2 square feet.
Troubleshooting: Quick Fixes for Common Smells
Sudden stink after rain: cover the bin during downpours or add a roof — waterlogging is the fastest route to anaerobic. Turn and add dry browns immediately. Smell despite good ratios: check for compaction — poke deep air holes with a compost fork or rebar; sometimes the center just needs channels. Flies but no smell: food too close to the surface — bury 6+ inches deep. Bin smells fine but won’t heat up: pile too small (needs ~3 cubic feet minimum to self-insulate) or too dry — add greens and water, and be patient in winter. The EPA’s composting resources offer excellent troubleshooting charts for persistent issues.
Conclusion
Composting at home without a smelly bin comes down to honoring the aerobic process: 3:1 browns to greens, food scraps always buried, weekly turning, sponge-damp moisture, and meat/dairy kept out entirely. Smell is feedback, not fate — each odor diagnoses a specific fix. Follow this system and your bin smells like a forest floor while producing free soil amendment that makes everything you grow better. The neighbors will never know; your garden will.
Frequently Asked Questions
Why does my compost bin smell like rotten eggs?
Hydrogen sulfide from anaerobic (oxygen-starved) decomposition — usually waterlogging or compaction. Turn the pile thoroughly to introduce air, add dry browns to absorb moisture, and ensure drainage underneath. The smell should clear within days.
Can I compost in an apartment without smell?
Yes — vermicomposting (worm bins) is virtually odorless indoors when managed correctly, and sealed bokashi systems ferment scraps without smell. A small tumbler on a balcony also works. The key in all cases: correct moisture, no meat/dairy, and adequate browns.
How long does it take to make finished compost?
With weekly turning and good ratios: 2–4 months in warm weather. Passive (unturned) piles: 6–12 months. Winter slows everything. Finished compost is dark, crumbly, and smells like earth — if you can identify original materials, it’s not done.
Do I need to turn my compost every day?
No — weekly is plenty for home bins. Daily turning actually disrupts the microbial colonies doing the work. Tumblers make weekly turning a 30-second job; fork-turned bins take about 5 minutes.