Stop Makeup Creasing Under Eyes: The Technique That Works
You spent twenty minutes on a flawless base. By noon, your under-eye concealer has settled into every fine line, creasing like tissue paper — and you look older than when you started. Under-eye creasing is the most universal makeup frustration in America, and it happens because the under-eye area is uniquely hostile to makeup: the thinnest skin on the face, constant micro-movement (you blink ~20,000 times a day), plus natural oils and moisture. But creasing isn’t inevitable. It’s a technique problem with a technique solution — and the fix is mostly about what you do before the concealer, not the concealer itself.
Why Concealer Creases (The Mechanics)
Creasing happens when product migrates into the skin’s natural folds as it dries down and as the face moves. Three factors drive it: too much product (the number one cause — thick layers have nowhere to go but into lines), the wrong formula for your skin (too dry emphasizes texture; too emollient slides), and poor prep (dehydrated under-eyes grab product unevenly; un-set concealer keeps moving all day). Understanding this reframes the fix: it’s about thin layers, right formulas, and setting — in that order.
The Prep: Where Crease-Free Makeup Is Actually Made
Good prep starts with understanding the skin you’re working on — the AAD’s cosmetic dermatology resources explain why the under-eye area behaves differently from the rest of the face. Then follow these steps:
Hydrate, then wait
Apply eye cream to the under-eye area and wait 2–3 minutes before any makeup. Hydrated skin is plump skin — plump skin has shallower folds for product to settle into. But the waiting matters: applying concealer over wet eye cream creates a slippery layer that guarantees migration. Hydrate, let it absorb fully, then proceed.
Prime the under-eye
A tiny amount of gripping primer or even a light dusting of translucent powder before concealer gives the product something to adhere to. This step is skipped by most people and missed by all of them — it’s the difference between concealer that floats on skin oils and concealer that bonds.
Color-correct if needed
If darkness (not just hollowness) is the issue, a thin layer of peach/salmon corrector on the darkest areas means you need less concealer overall — and less product is the entire game. Targeted correction beats blanket coverage every time.
The Application: Less Is Everything
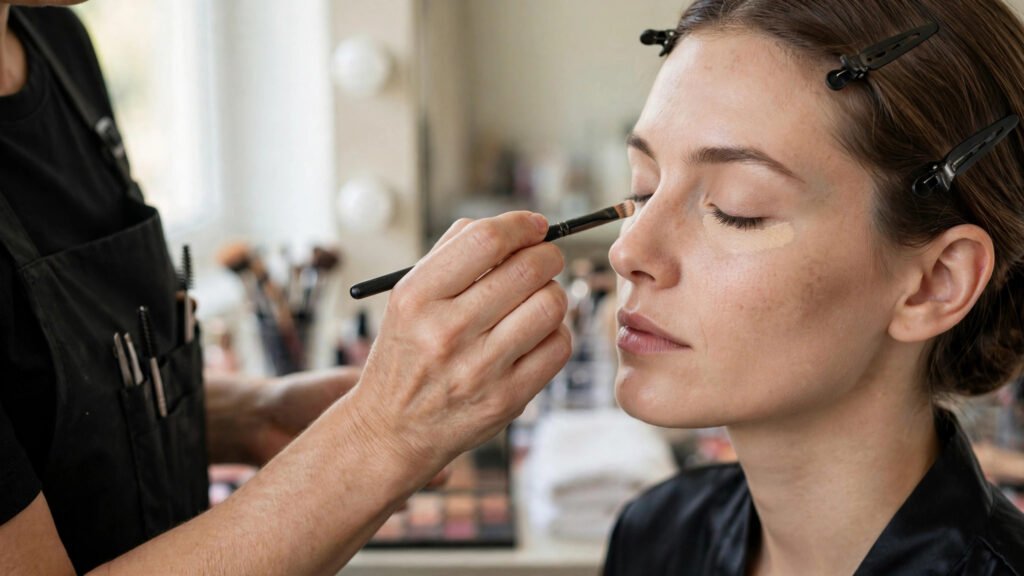
Use far less than you think. Three small dots of concealer per eye, maximum — you can always add, but you can’t subtract without starting over. The most common creasing cause is simply too much product.
Place strategically, not broadly. Concealer belongs on the dark areas (inner corner and the shadowed hollow), not painted in a giant triangle across the whole under-eye. Less coverage area = less product = less creasing.
Blend with warmth and pressure. A damp makeup sponge, pressed (not dragged) into the skin, melds concealer with the skin’s texture. Fingers work too — body heat helps product melt in. The goal is concealer that looks like skin, not concealer sitting on skin.
Choose the right formula. Dry under-eyes need hydrating, flexible formulas (look for hyaluronic acid, squalane); oily lids need longer-wear, less emollient ones. Matte, full-coverage concealers crease most on dry skin; ultra-creamy ones migrate most on oily skin. Match formula to your skin, not to the trend. And the canvas matters — flattering color choices start with a smooth, crease-free base that lets the actual colors show correctly.
The Set: Locking It Down
Set immediately, while the concealer is fresh. Don’t do the rest of your face first — by the time you return, the concealer has already started settling. Set within a minute of application.
Use minimal powder, applied precisely. A small fluffy brush (or a damp sponge) with a tiny amount of finely-milled translucent powder, pressed — not swept — into the areas that crease. The “baking” technique (thick powder left for minutes) works for photography but looks heavy and ages the under-eye in real life; modern technique favors micro-setting.
Consider setting spray. A light mist after powder melds the layers and removes powderiness. For very crease-prone eyes, a spray before powder (damp setting) plus after gives double grip.
Concealer Formulas by Skin Type: What to Buy
The right formula prevents half of all creasing before technique even enters the picture. Dry under-eyes: hydrating, serum-infused concealers with hyaluronic acid or squalane — they flex with the skin instead of cracking. Avoid full-coverage mattes; they emphasize every line. Oily skin: longer-wear, satin-to-matte formulas that resist migration — but still set with powder, because oil breaks down even the best formula by afternoon. Mature under-eyes: lightweight, radiant-finish concealers in thin layers — heavy full coverage settles into texture and ages the area; a brightening formula used sparingly looks a decade younger than a thick one. Very dark circles: high-pigment concealers (the pot or stick format) over color corrector — the corrector does the neutralizing so the concealer layer can stay thin.
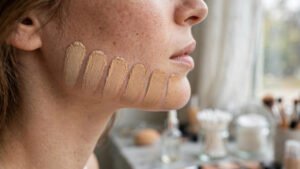
The universal shopping rules: test the shade on your jawline in daylight (not your hand), choose one shade matching your skin tone for blemish-level coverage (lighter shades are for highlighting, not hiding), and prioritize flexible, blendable textures over maximum coverage claims. The most expensive concealer in the wrong formula creases worse than a drugstore one in the right formula — match the chemistry to your skin, then let the technique do the rest.
The Midday Rescue
The midday rescue works better when the morning application was right — and the FDA’s guidance on cosmetic product safety is worth a skim so you know what’s actually in the products you’re layering. Then follow the reset routine below.
Even perfect application faces 8 hours of blinking. The pro touch-up: don’t layer more concealer over creased concealer (that’s how cake is built). Instead, gently press the creased area with a clean fingertip or damp sponge to smooth and redistribute — the warmth re-melts the product. Then the tiniest dusting of powder only where needed. This 30-second reset restores the morning finish without buildup. Keep blotting papers for the T-zone — surrounding oil migrates, and polished details like neat nails complete a look that midday touch-ups preserve.
Conclusion
Crease-free under-eyes come from process, not products: hydrate and wait, prime lightly, use a fraction of the concealer you think you need placed only where darkness lives, blend with pressing motions, and set immediately with minimal powder. The concealer formula matters less than the technique — thin, set, and strategic beats expensive and thick every time. Master the prep and the application, and your 8 a.m. under-eyes will still look like 8 a.m. at 6 p.m.
Frequently Asked Questions
Why does my concealer always crease under my eyes?
Almost always too much product, inadequate prep (dry skin grabs unevenly), or no setting. The under-eye moves constantly — thick unset layers have nowhere to go but into fine lines.
Should I put powder under my eyes?
Yes, but minimally — a small amount of finely-milled translucent powder pressed in immediately after concealer. Heavy baking looks cakey in real life; micro-setting is the modern technique.
Does eye cream cause concealer to crease?
Only if you don’t let it absorb. Apply eye cream 2-3 minutes before makeup; concealer over wet cream slides and creases. Absorbed eye cream actually prevents creasing by plumping the skin.
What’s the best concealer formula to prevent creasing?
Match to your skin: hydrating flexible formulas for dry under-eyes, longer-wear less-emollient ones for oily skin. Technique (thin layers, immediate setting) matters more than brand.
How do I fix creased concealer during the day?
Don’t add more product — press the area with a clean fingertip or damp sponge to smooth and redistribute, then the tiniest dusting of powder. This resets without building cake.