How to Make Gel Nails Last Longer: 12 Tips That Actually Work (2026)
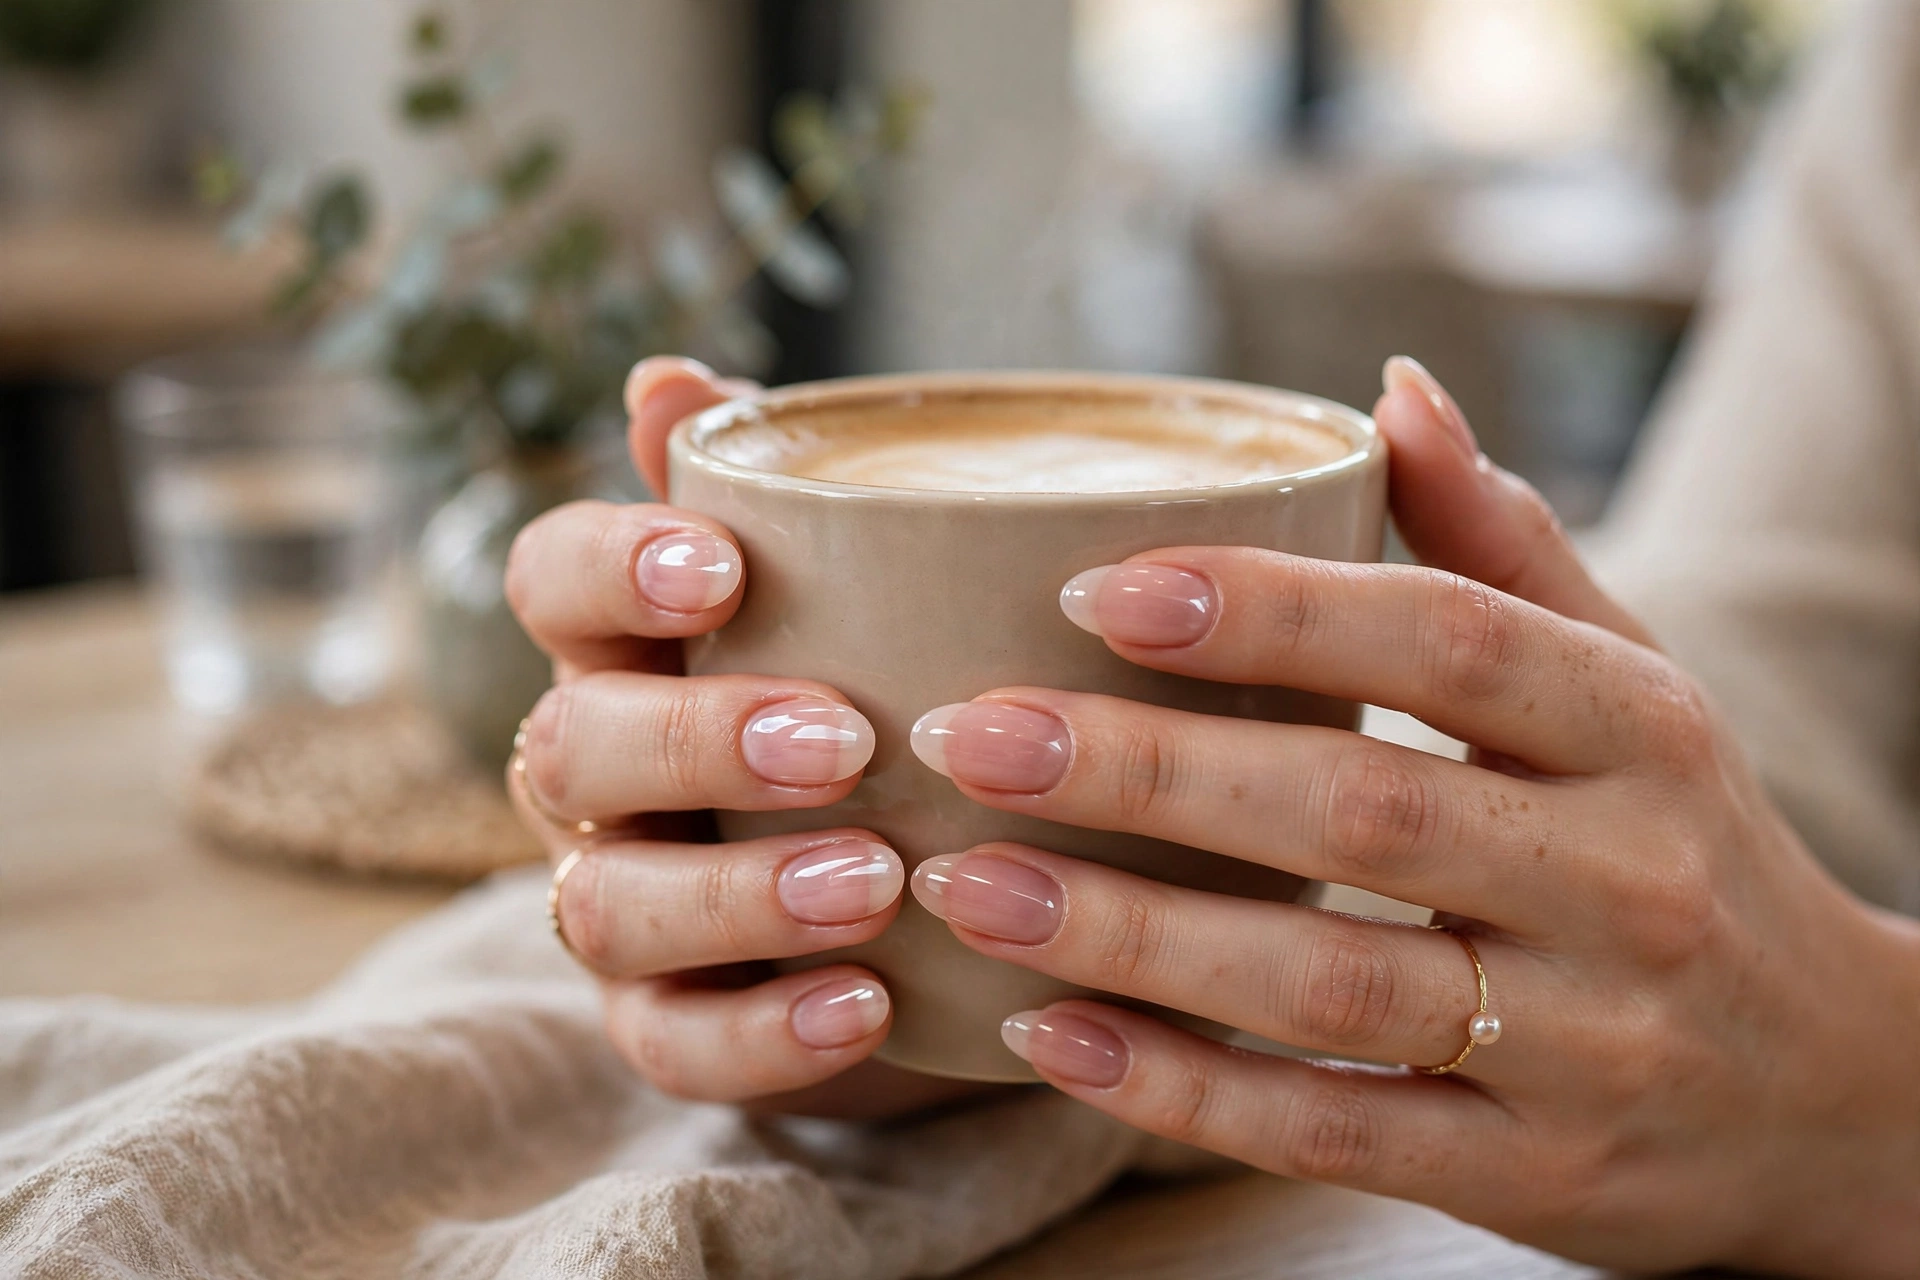
Gel manicures promise two weeks of chip-free shine, but too many of us watch them lift and peel within days. If you are tired of paying salon prices for a manicure that quits early, learning how to make gel nails last longer is worth the effort. The truth is that most premature gel failure comes down to a handful of preventable mistakes — in prep, in application, and in aftercare. Fix those, and a gel manicure can genuinely go the distance. Here are 12 practical tips, from the salon chair to your kitchen sink, that keep gel polish flawless for as long as possible.
How Long Should Gel Nails Last?
A well-applied gel manicure should last two to three weeks without significant chipping or lifting. If yours consistently fail before day ten, something in the process needs attention — it is rarely just “bad luck.” Common culprits include oily nail plates, rushed prep, thick coats, under-curing under the lamp, and harsh daily habits. The tips below address every stage. And if you are weighing gel against other options, our guide on how long dip nails last compares wear times so you can pick the right manicure for your lifestyle.
Before the Polish: Prep Tips (1–4)
1. Start with completely dry, oil-free nails
Gel bonds best to a clean, dry nail plate. Do not soak your nails before a gel manicure — waterlogged nails expand, then shrink as they dry, breaking the seal from underneath. Your tech should wipe each nail with alcohol or a nail dehydrator right before the base coat. At home, wash your hands well beforehand and avoid applying hand cream right before your appointment.
2. Push — do not cut — your cuticles
Cuticles protect the nail bed from infection, and cutting them creates tiny openings where lifting starts. Ask your technician to gently push cuticles back instead. Just as important: gel must never touch the cuticle or surrounding skin. Product on skin cannot bond properly and creates a weak edge that peels within days.
3. Get a gentle, thorough buff
The nail surface needs a light buff to give the base coat something to grip. But aggressive filing thins the nail plate, and thin nails flex — flexing cracks gel. A light, even buff with a fine-grit file is all you need. If your tech reaches for a coarse e-file bit on natural nails, that is a red flag.
4. Keep nails at a sensible length and shape
Longer nails experience more leverage and torque in daily life, which stresses the gel at the stress point. A medium length with a rounded or squoval shape distributes force better than long squares or sharp stilettos. Shorter gel nails almost always outlast very long ones.
At the Salon: Application Tips (5–8)
5. Insist on thin coats
Thick coats of gel do not cure properly all the way through, leaving a soft underlayer that wrinkles, bubbles, or lifts. Two to three thin colour coats beat one thick coat every time. If your manicure looks gloopy or feels heavy, the coats were too thick.
6. Make sure each layer cures fully
Every layer — base, colour, top — needs its full time under the lamp. Pulling your hand out early because of that heat spike (the brief warm sensation during curing) leads to under-cured, soft gel that chips fast. If the heat bothers you, pull your hand out for a few seconds and put it back in rather than cutting the cure short. LED lamps cure faster and emit less UV than older UV lamps, so ask what your salon uses.
7. Cap the free edge
“Capping” means running the brush along the very tip of the nail to seal the free edge with base, colour, and top coat. This wrapped edge is what prevents water and daily wear from creeping under the polish from the tip — the most common starting point for chips. A tech who skips capping is skipping the step that matters most for longevity.
8. Protect your skin under the lamp
UV and LED lamps emit UVA radiation, the same type linked to premature ageing. Dermatologists recommend applying broad-spectrum SPF 30+ sunscreen to your hands about 20 minutes before a gel manicure, or wearing fingerless UV-protective gloves. This does not affect how long the gel lasts, but it protects the skin that has to live with the habit for years. WebMD’s guide to gel manicure safety explains the UV exposure question and other precautions in detail.
After the Salon: Aftercare Tips (9–12)
9. Oil your cuticles every day
Daily cuticle oil is the single highest-impact aftercare habit. It keeps the nail flexible so the gel moves with it instead of cracking, and it prevents the dryness around the edges that leads to lifting. Keep a pen-style oil in your bag and use it at least once daily — nail experts consistently rank this as the top longevity habit, as reflected in these dermatologists’ top tips for beautiful nails.
10. Wear gloves for wet and dirty work
Prolonged hot water, dish soap, and cleaning chemicals are gel’s worst enemies. They soften the product and attack the seal at the cuticle and free edge. Wear rubber gloves for dishes and cleaning, and try to keep hand-washing water lukewarm rather than scalding.
11. Stop using your nails as tools
Opening cans, scraping labels, prying lids — every one of these puts shear force on the gel edge. Use the pads of your fingers or actual tools instead. This one habit change alone can add several days to a manicure.
12. Never peel off lifting gel
This is the big one. When gel starts lifting, the temptation to peel it off is strong — but peeling rips away layers of your natural nail plate, leaving nails thin, weak, and bumpy. Damaged nails then hold the next manicure poorly, creating a cycle of short-lived sets. If an edge lifts, file it smooth, seal it with a dab of clear top coat, and book a proper removal.
Removal: The Step Everyone Rushes
How you remove gel determines the health of your nails for the next set. The safe method: gently file off the shiny top coat, soak acetone-soaked cotton on each nail wrapped in foil for 10–15 minutes, then ease the softened gel off with a wooden stick. Never scrape, pry, or peel. If the gel resists, soak longer — patience now means stronger nails later. Many salons offer professional removal for a small fee, and it is money well spent if you are unsure. After removal, give nails a breather of a few days with daily oil before the next application.
5 Mistakes That Kill Gel Manicures Early
- Applying hand cream right before the appointment. Oils and moisturisers on the nail plate block adhesion. Moisturise after, not before.
- Picking at a tiny chip. One small chip becomes a peeled-off nail within a day once you start. File it smooth and dab on top coat instead.
- Skipping the base or top coat. At-home kits sometimes tempt shortcuts — both coats are structural, not optional.
- Excessive heat exposure. Saunas, hot tubs, and tanning beds soften gel and loosen the seal. Enjoy them, but expect slightly shorter wear.
- Going too long between removals. Wearing gel for five or six weeks risks lifting that traps moisture and can lead to infection. Three weeks is the sensible max.
Frequently Asked Questions
Why do my gel nails lift at the cuticle?
Cuticle-area lifting almost always traces back to prep or application: oily nail plate, product touching the cuticle or skin, or insufficient curing of the base coat. If it happens every time with the same tech, try a different salon — consistent early lifting is usually a technique problem, not a you problem.
Can I make gel nails last a month?
It is possible but not advisable. Even if the polish looks fine at four weeks, the seal weakens over time and lifting can trap moisture underneath, risking bacterial or fungal infection. Dermatologists generally suggest removing or redoing gel within two to three weeks.
Does cuticle oil really help gel last longer?
Yes. Flexible, hydrated nails and surrounding skin resist the micro-cracks and edge dryness that start lifting. It will not fix bad application, but on a good set, daily oil visibly extends wear.
The Bottom Line
Learning how to make gel nails last longer is mostly about respecting the process: thorough dry prep, thin fully-cured coats with a capped free edge, and gentle aftercare with daily oil and gloves. Avoid the cardinal sins — peeling, picking, and marathon wear — and remove every set properly with an acetone soak. Do all of that and two to three weeks of flawless gel becomes the norm, not the exception — the perfect finishing detail for a complete polished everyday look.