How to Choose Concealer Colour: The Simple Guide to a Perfect Match (2026)
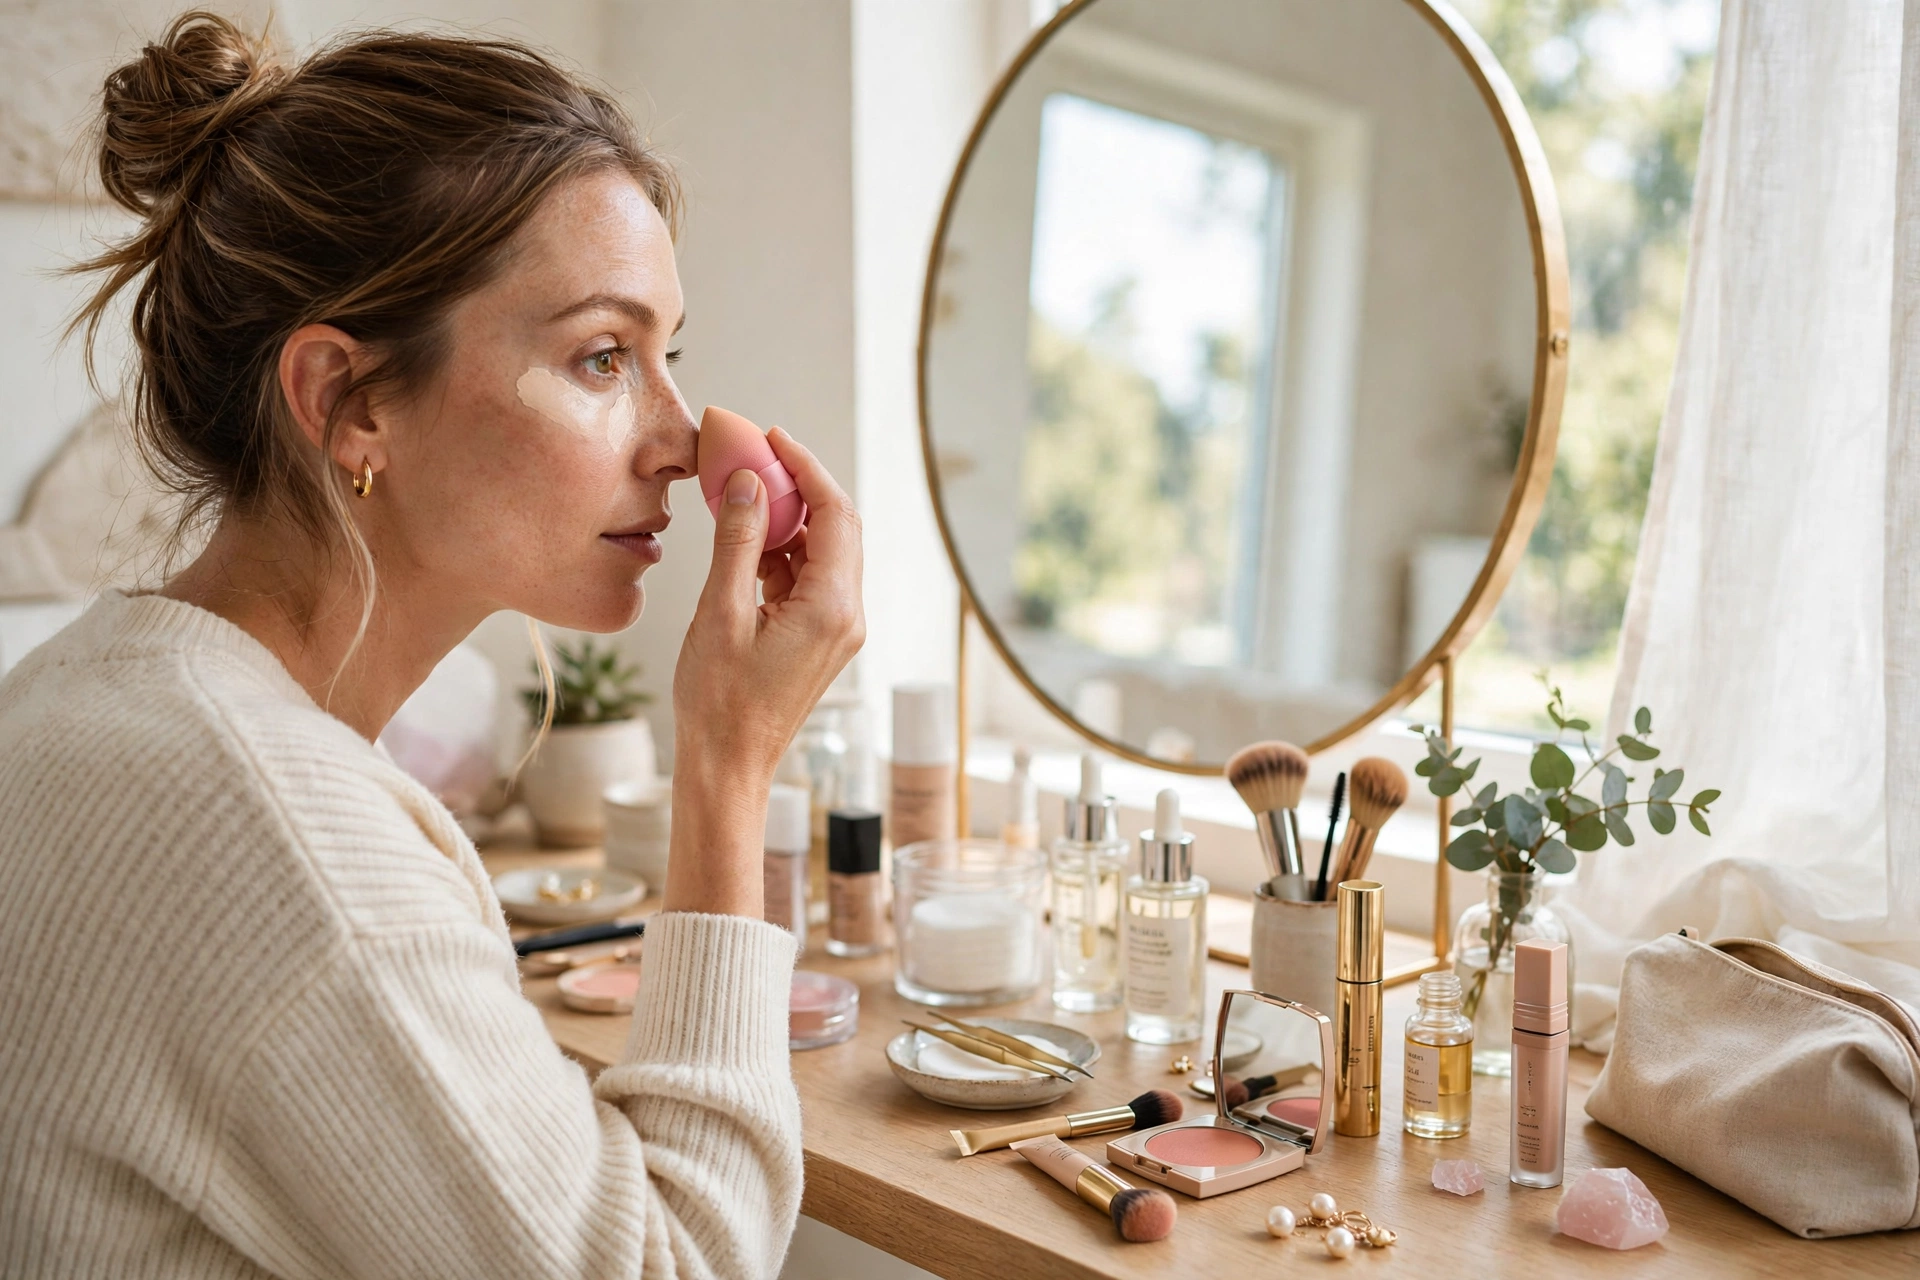
Picking the wrong concealer is one of the most common makeup mistakes — the shade that looks perfect in the tube can turn grey, orange, or chalky on your skin. Learning how to choose concealer colour correctly is the difference between makeup that disappears into your skin and makeup that announces itself. The good news is that shade matching follows a few simple rules, and once you know them, you will never guess at the makeup counter again. This guide walks you through undertones, the shade rules for different concerns, colour correcting basics, and how to test like a pro.
The Short Answer: How to Choose Concealer Colour
For blemishes, redness, and spots, choose a concealer that exactly matches your skin tone so it blends invisibly. For under-eye dark circles, go one shade lighter than your skin to brighten the area without looking chalky. In both cases, the undertone must match yours — warm, cool, or neutral. When in doubt, test three shades on your jawline in natural daylight and pick the one that disappears. That is the entire system in a nutshell; the sections below explain each piece.
Step 1: Find Your Undertone
Your undertone is the subtle hue beneath your skin’s surface, and it never changes — even when you tan. Getting this wrong is why concealers look “off” even when the depth seems right. There are three types:
- Warm: golden, peachy, or yellow hints. Veins on your wrist look greenish, and gold jewellery tends to flatter you.
- Cool: pink, red, or bluish hints. Veins look blue or purple, and silver jewellery usually looks better.
- Neutral: a mix of warm and cool — you can wear both gold and silver comfortably.
Two quick tests help. The vein test: look at the veins on the inside of your wrist in natural light — green means warm, blue or purple means cool, and a mix means neutral. The white fabric test: hold a plain white cloth next to your bare face. If your skin looks yellowish or golden beside it, you are warm; if it looks pink or rosy, you are cool. Once you know your undertone, look for concealer shade names and descriptions that mention it — most brands now label shades as warm, cool, or neutral, which makes picking the perfect concealer for your skin much easier.
Step 2: Match the Shade to the Job
For blemishes, acne, and redness: match exactly
When covering a pimple or red patch, your goal is invisibility. A concealer lighter than your skin will highlight the bump; a darker one will look like a shadow. Dot the exact-match shade directly on the spot after foundation, then pat — do not rub — to blend the edges. Healthline’s guide to hiding acne with makeup recommends this same targeted approach, applying concealer only where needed for the most natural finish.
For under-eye circles: go one shade lighter
Dark circles need brightening, not just coverage. Choose a concealer one shade lighter than your natural skin tone with a peachy or salmon undertone, which counteracts the blue-purple tone of under-eye shadows. Going more than one or two shades lighter creates the dreaded reverse-raccoon effect — bright white crescents that catch the light in photos.
For highlighting: go one to two shades lighter
If you use concealer to highlight the bridge of the nose, centre of the forehead, or tops of the cheekbones, pick one to two shades lighter than your skin. Blend thoroughly so there are no visible lines where the highlight stops.
Step 3: Understand Colour Correcting
Colour-correcting concealers use opposite colours on the colour wheel to cancel out discolouration before your regular concealer goes on. You do not need all of them — just the one that matches your concern:
- Green: neutralises redness from acne, rosacea, or irritation.
- Peach or orange: cancels blue-purple dark circles and hyperpigmentation. Deeper skin tones usually need a richer orange; fair skin does better with light peach.
- Lavender or purple: brightens sallow, yellowish skin.
- Yellow: tones down mild redness and brightens fair to medium skin.
- Pink: brightens dullness in fair skin.
The rule is simple: apply a thin layer of corrector only on the discoloured area, blend, then layer your skin-tone concealer on top. Less is more — thick layers of corrector look muddy rather than flawless.
Step 4: Pick the Right Formula for Your Skin Type
Shade is only half the battle; the wrong formula will crease, cake, or slide off regardless of colour:
- Oily skin: choose oil-free liquid concealers with a matte or natural finish. Set with a light dusting of translucent powder so the product does not break down by midday.
- Dry skin: go for creamy, hydrating liquid or cream concealers. Avoid heavy matte formulas that cling to dry patches, and always moisturise — plus eye cream under the eyes — before applying.
- Mature skin: lightweight, hydrating liquids with light-reflecting properties work best. Thick, full-coverage sticks tend to settle into fine lines.
- Sensitive or acne-prone skin: look for non-comedogenic and fragrance-free formulas so coverage does not cause new breakouts.
For a deeper breakdown of matching shades to specific concerns, our companion guide on how to choose concealer shade covers the numbering systems brands use and how to translate between them.
Step 5: Test Before You Buy
Never choose a concealer by swatching it on the back of your hand — the skin there is a different tone and texture from your face. Instead:
- Swatch on your jawline and under your eyes, the two areas where the concealer will actually live.
- Test three shades: one that matches your foundation, one slightly lighter, one slightly darker. The winner is the one that disappears into skin.
- Check in natural daylight. Store lighting is warm and flattering; it lies. Step near a window or door before deciding.
- Wait a few minutes. Some formulas oxidise — they darken as they dry. Give a swatch five minutes to settle before judging it.
- Blend it out. A stripe of unblended concealer always looks darker than it will once diffused. Pat it in with a finger to see the true result.
5 Concealer Colour Mistakes to Avoid
- Going too light under the eyes. More than two shades lighter looks grey or ashy, especially in flash photography.
- Ignoring undertone. A cool-toned concealer on warm skin looks pink and obvious; a warm one on cool skin looks orange.
- Using one shade for everything. The shade that hides a blemish invisibly will not brighten dark circles — keep two shades in your kit.
- Applying too much. Thick layers crease and look heavy. Build thin layers only where you need them.
- Skipping powder on oily skin. Without setting, even the perfect shade will migrate into creases within hours.
How to Make Your Concealer Last All Day
Start with clean, moisturised skin and let your moisturiser absorb for a minute before makeup. Apply foundation first, then concealer only where you still need coverage — this keeps the overall layer thin. Pat concealer in with a damp sponge or your ring finger using a gentle dabbing motion, never dragging. Set the under-eye area with a small amount of translucent powder pressed in with a puff, and finish with a light mist of setting spray. Blotting papers at midday will refresh shine without disturbing your shade match.
Frequently Asked Questions
Should concealer be lighter or darker than foundation?
It depends on the job. For spot-concealing blemishes, it should match your foundation exactly. For under eyes and highlighting, one shade lighter than foundation is the standard. For contouring or covering very dark spots on deeper skin, some artists use a slightly deeper shade first, then blend a matching shade over it.
What colour concealer covers dark circles best?
A peachy or salmon-toned concealer one shade lighter than your skin. The peach cancels the blue-purple undertone of dark circles while the lighter depth brightens. On very deep skin tones, a richer orange corrector under a matching concealer works better than a lighter shade alone.
How do I know my concealer shade online?
Start from your foundation shade — most brands align their concealer and foundation numbering. Use the brand’s online shade finder or virtual try-on tool, read the undertone descriptions carefully, and when torn between two shades, choose based on undertone match first and depth second. Buying from retailers with good return policies removes the risk.
The Bottom Line
Knowing how to choose concealer colour comes down to three rules: match your undertone always, match your skin tone for blemishes, and go one shade lighter for under eyes. Test on your face in natural light, keep two shades in your kit for different jobs, and remember that thin, well-blended layers beat thick coverage every time. Get the colour right and the rest of your routine falls into place — the final step to a complete polished everyday look that looks like your skin, only better.