What Is the Best Way to Store Tools in a Small Shed
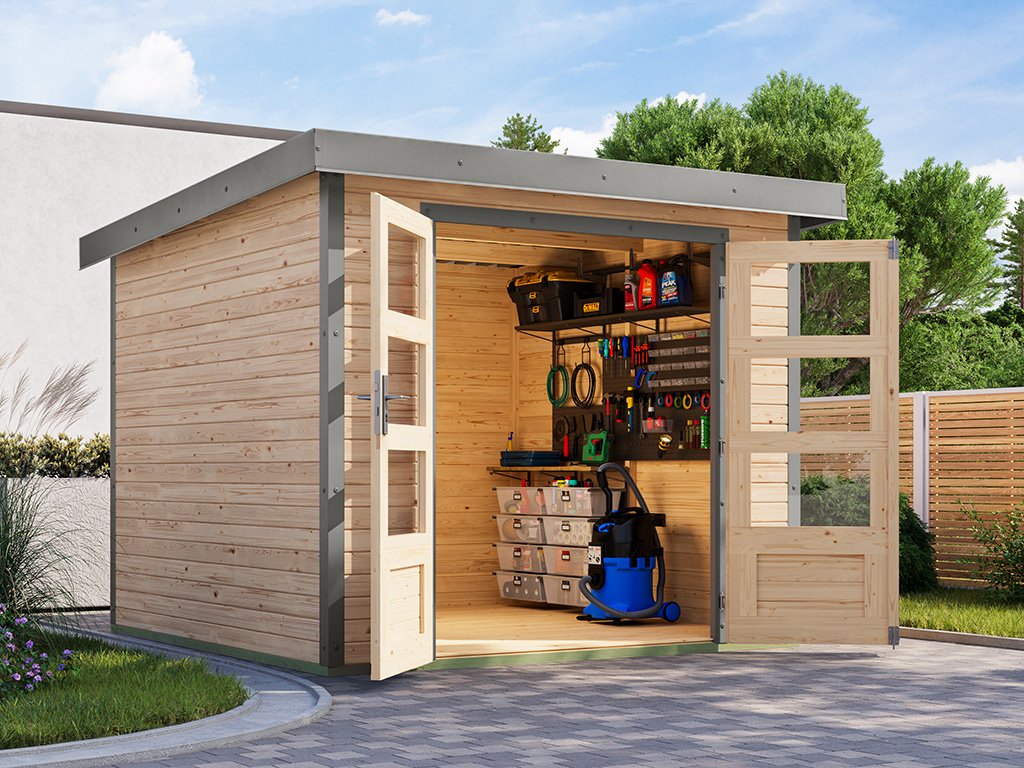
A small shed is a blessing and a curse: it keeps tools out of the garage, but its limited space means chaos arrives fast. My 8×10 shed went from organized to “open the door and something falls on you” in about eighteen months. The problem wasn’t the shed’s size — it was that I treated it like a closet instead of a workshop. Once I applied real organization principles, the same shed held everything with room to spare.
Here’s the best way to store tools in a small shed so you can actually find and use them.
What Is the Best Way to Store Tools in a Small Shed?
The principles are the same as garage organization, compressed: purge first, zone by use, exploit vertical space ruthlessly, and protect everything from moisture. That last one is shed-specific and critical — sheds experience bigger temperature and humidity swings than garages, and rust is the enemy.
Step 1: Purge and Assess
Empty the shed completely — it’s the only way to see what you have. Sort into keep, relocate (things that belong in the garage or house), donate/sell, and trash. Be honest about duplicates (three hammers is two too many), broken tools you’ll never repair, and “might need someday” items that have waited five years. A small shed can’t afford dead weight — every square foot must earn its place.
While it’s empty, inspect the shed itself: fix roof leaks (nothing destroys tools faster than dripping water), ensure the floor is sound, check that the door seals reasonably, and note where moisture enters. A $20 tube of sealant on shed gaps pays for itself in prevented rust.
Step 2: Fight Moisture (The Shed-Specific Priority)
Tools rust in sheds because of condensation — temperature swings cause moisture to form on cold metal surfaces. Combat it:
- Ventilate: install gable vents or a small louvered vent ($15–$30 each) high on opposite walls. Airflow prevents the stagnant humid conditions that cause condensation. A solar-powered vent fan ($40–$70) actively exhausts hot humid air.
- Keep everything off the floor: never store tools directly on the shed floor — use pallets, shelving, or wall mounts. Floor contact wicks moisture.
- Use desiccants: silica gel packs in toolboxes, DampRid containers ($5–$10 each) on shelves — they absorb ambient moisture passively. Replace or recharge regularly.
- Oil metal tools lightly before storage — a thin coat of 3-in-1 oil or paste wax on hand tool heads prevents rust for months. It’s the old-timer’s trick that actually works.
- Seal the floor: a concrete shed floor wicks moisture upward — concrete sealer ($30–$50 per gallon) or interlocking floor tiles create a barrier.
Step 3: Go Vertical — Walls Are Your Warehouse
In a small shed, wall space is more valuable than floor space. Cover the walls with storage:
- Pegboard on every available wall section ($20–$40 per sheet): hand tools visible and accessible. Outline each tool’s position with marker — the “shadow board” technique means you instantly see what’s missing.
- French cleats (strips of plywood cut at 45 degrees, screwed to studs): endlessly reconfigurable holders for tools, shelves, and bins. The most versatile wall storage system that exists — build it once, rearrange forever.
- Wall-mounted shelving: 12-inch-deep shelves hold paint cans, oils, and boxed items. Keep heavy items low, light items high.
- Magnetic strips ($10–$15) for drill bits, wrenches, and small metal tools — incredibly space-efficient.
- Hanging systems for long tools: rakes, shovels, and pruners hang on wall-mounted tool racks ($15–$30) or simple 2x4s with notches. Getting long-handled tools off the floor reclaims shocking amounts of space.
Step 4: Zone the Interior
Even a small shed benefits from zones: frequently used tools near the door (the grab-and-go zone), project/work area if space allows (even a fold-down workbench, $50–$100, that collapses against the wall), bulk storage (paint, chemicals, seasonal items) in the back or on high shelves, lawn and garden tools grouped together, and power tools with their chargers in one spot (a charging station on a shelf keeps batteries organized and ready).
Keep a clear path from door to back — if you have to move things to reach things, the system has failed. In an 8×10 shed, that means storage on three walls maximum, with the fourth wall (or center) kept clear.
Step 5: Contain Small Items
Small tools and hardware disappear into shed chaos fastest. Parts organizers with labeled drawers ($15–$30) for screws, nails, and bits. Clear stackable bins ($5–$10 each) for categories (electrical, plumbing, painting). Tool bags or buckets ($15–$30) for grab-and-go kits — a 5-gallon bucket with a tool organizer sleeve is the classic portable workshop. Label everything — in a shared household, labels are the difference between organization and one person’s system that nobody else understands.
Chemical and Fuel Safety
Sheds often store gasoline, pesticides, and paints — treat them with respect: store fuels in approved containers away from ignition sources, keep chemicals on low shelves (not overhead where they can fall), ensure ventilation (fumes accumulate in sealed sheds), keep a fire extinguisher rated ABC ($20–$30) mounted near the door, and lock the shed if children access the yard. Never store propane tanks indoors — they belong outside the shed in ventilated storage.
Seasonal Maintenance
Twice a year, spend 30 minutes: check for rust and treat spots early, verify vents are clear, replace desiccants, sharpen and oil garden tools before storage season, drain fuel or add stabilizer to seasonal engines, and reassess — if something hasn’t been used in a year, it probably doesn’t need shed space. The shed stays organized only if the system gets occasional attention.
For the full toolkit worth storing, see our guide to essential homeowner tools. If the garage needs the same treatment, our garage organization guide covers the bigger space.
Practical Takeaway
Purge ruthlessly, fix shed leaks and ventilate to fight moisture, mount everything possible on walls (pegboard, French cleats, magnetic strips), zone by frequency of use with a clear path, contain small items in labeled organizers, store chemicals safely, and maintain twice yearly. A small shed with vertical storage and moisture control holds more than a big shed full of piles — organization beats square footage every time. Family Handyman’s shed organization projects include build plans for the French cleat system.