
How to Move Photos From an iPhone to a Windows Laptop (4 Easy Ways)
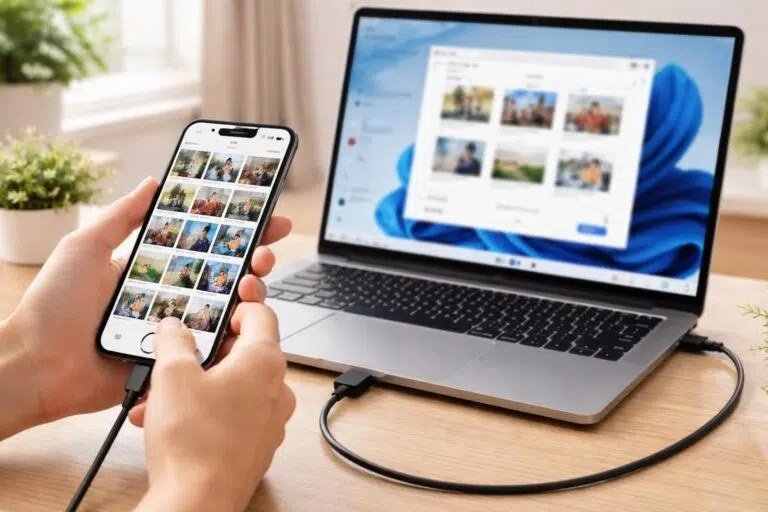
Moving photos from an iPhone to a Windows laptop shouldn’t be complicated, but Apple and Microsoft don’t exactly make it seamless. The good news: once you know the right method, transferring photos from your iPhone to a Windows laptop takes just a few minutes.
I’ve done this dozens of times for family members, and the cable method is still the fastest for big batches. But if you’d rather skip the cable, there are solid wireless options too. Here are the four methods that actually work, starting with the simplest.
The short answer: the fastest way is plugging your iPhone into the laptop with a USB cable, tapping ‘Trust This Computer,’ and importing through the Windows Photos app or File Explorer. For wireless transfers, install iCloud for Windows or use Google Photos — both sync automatically once set up.
Method 1: USB Cable + Windows Photos App (Fastest for Big Batches)
Plug your iPhone into the laptop with a Lightning or USB-C cable. Your iPhone will ask ‘Trust This Computer?’ — tap Trust and enter your passcode. On the laptop, open the Photos app, click Import, and select ‘From a connected device.’ Windows will scan your phone and let you pick which photos to bring over.
This method moves full-resolution originals and doesn’t need Wi-Fi, so it’s ideal for transferring thousands of vacation photos. One catch: if your photos are in HEIC format (Apple’s default since iOS 11), Windows may need the free HEIF Image Extensions from the Microsoft Store to display them. Install it once and you’re set — or change your iPhone to shoot JPEG under Settings > Camera > Formats > Most Compatible.
Method 2: File Explorer (Drag and Drop, No Extra Software)
If you’d rather skip the Photos app, open File Explorer after connecting your iPhone and look for ‘Apple iPhone’ under This PC. Open it, go to Internal Storage > DCIM, and you’ll see folders of your photos and videos. Drag and drop whatever you want straight to a folder on your laptop.
This is the most direct method — no importing, no libraries, just files. The downside is that your photos come over with cryptic names like IMG_4829.HEIC and no organization by date in the filenames, though the date metadata is preserved. It’s perfect when you just need the files fast.
Method 3: iCloud for Windows (Best for Automatic Syncing)
Download iCloud for Windows from the Microsoft Store, sign in with your Apple ID, and turn on iCloud Photos. Your entire photo library syncs to a folder on the laptop automatically. New photos appear within minutes whenever both devices are online.
The catch is storage: Apple’s free iCloud tier is only 5GB, which fills up fast. If your library is bigger, you’ll need a paid plan (50GB is $0.99/month). Also, the initial sync of a large library can take hours — start it overnight. But once it’s done, this is the most hands-off option, and it doubles as a backup for your family photos alongside a local copy.
Method 4: Google Photos (Easiest Wireless Option)
Install Google Photos on your iPhone, sign in, and turn on backup. Then just open photos.google.com on your laptop and download anything you want — individually or in batches. Google gives you 15GB free shared across Gmail and Drive, which covers a decent chunk of photos.
This method shines when your cable is missing or your laptop’s USB ports are acting up. It’s also platform-agnostic, so the same approach works if you ever switch to Android. Just be aware that downloading hundreds of photos from the web interface is slower than a cable transfer, so use this for convenience, not for moving 10,000 photos at once.
- Big one-time transfer: USB cable + Photos app or File Explorer
- Automatic ongoing sync: iCloud for Windows (needs paid storage for big libraries)
- No cable handy: Google Photos wireless backup
- HEIC files won’t open? Install HEIF Image Extensions from the Microsoft Store
How Do I Transfer Photos From My iPhone to a Windows Laptop Without Losing Quality?
A quick warning about quality: some transfer methods quietly compress your photos. Messaging them to yourself via WhatsApp or email downsizes images significantly — fine for sharing, terrible for archiving. The cable methods and iCloud/Google Photos originals preserve full quality. In Google Photos on iPhone, check that backup is set to ‘Original quality’ rather than ‘Storage saver’ if you want true originals; storage saver compresses slightly (still fine for most people, but know the trade-off).
After the transfer, take ten minutes to organize. Create folders by year and event on the laptop rather than dumping 3,000 files into one folder — future you will be grateful. Rename the keepers if you’re ambitious, or at least delete the obvious duds (blurry shots, accidental pocket photos) before they multiply. And consider this transfer the trigger to set up automatic backup going forward, so you never do a giant manual move again.
One more tip for big libraries: if File Explorer shows only some photos, it’s usually because the rest are in iCloud and not downloaded to the phone. On the iPhone, go to Settings > Photos and choose ‘Download and Keep Originals’ before connecting via cable — otherwise the cable can only grab what’s physically on the device.
If you use both a Windows laptop and cloud storage, consider making the laptop the archive and the cloud the backup: full-resolution originals live in dated folders on the laptop (and its backup drive), while the cloud holds convenient-access copies. This protects you against both a dead laptop and a hacked cloud account. Redundancy feels like overkill until the day it saves five years of family photos.
Related reading: how can I recover deleted photos from my phone · what is the best way to scan old photos into digital files
The Bottom Line
For a big one-time move, use the USB cable — it’s fastest and keeps full quality. For ongoing syncing, set up iCloud for Windows or Google Photos once and never think about it again. And if Windows can’t open your HEIC files, that free HEIF extension from the Microsoft Store fixes it in two minutes.
Sources: Apple’s guide to importing photos to a Windows PC · Microsoft’s iCloud for Windows download page







3 thoughts on “How to Move Photos From an iPhone to a Windows Laptop (4 Easy Ways)”