How to Scan Old Photos Into Digital Files (Without Ruining Them)
Those shoeboxes of family photos are fading a little more every year — and they’re one house fire away from gone forever. The best way to scan old photos into digital files depends on how many you have, how much quality matters, and how much time you’re willing to spend.
I’ve digitized a few hundred family photos, and I learned the hard way that method matters. Here’s the honest comparison of your three options.
The short answer: for a few dozen photos, a free phone scanning app (Google PhotoScan) is fast and surprisingly good. For hundreds of photos where quality matters, a flatbed scanner at 600 DPI is the gold standard. For thousands, a scanning service ($0.25–$0.60 per photo) is worth every penny.
Option 1: Phone Scanning Apps (Fastest for Small Batches)
Google PhotoScan (free, iOS and Android) is the standout: it takes multiple shots to eliminate glare, auto-crops, and produces results that genuinely rival cheap scanners. Photomyne is a solid alternative with good batch features. Lay the photo flat in soft, indirect light (near a window, no direct sun), and you can do a photo every 30–45 seconds.
Quality is ‘very good’ — fine for sharing, slideshows, and prints up to 5×7. It won’t match a real scanner for large prints or restoration work, and curled photos are fiddly. But for digitizing a few dozen photos this weekend, nothing beats the phone in your pocket. Pro tip: wipe the photos gently with a microfiber cloth first; dust scans as permanent-looking specks.
Option 2: Flatbed Scanner (Best Quality for DIY)
If you have hundreds of photos and care about quality, a flatbed scanner is the answer. The Canon CanoScan LiDE series and Epson Perfection V39 (both around $100–$150) are the go-to choices — compact, USB-powered, and excellent for photos. Scan at 600 DPI for prints you might reprint, 300 DPI is fine for screen viewing only. Save as TIFF for archiving (lossless) or high-quality JPEG for sharing.
The workflow: clean the scanner glass, place photos face-down (scan 3–4 small ones at once and crop later to save time), and batch-name files by event or year as you go. It’s meditative work — about 1–2 minutes per photo including handling. A weekend gets you through 300–400 photos. Handle old photos by the edges; oils from fingers damage prints over time, and consider cotton gloves for anything truly precious.
- Phone app (PhotoScan): free, 30–45 sec/photo, great for small batches
- Flatbed scanner ($100–$150): 600 DPI, best DIY quality, 1–2 min/photo
- Scan service ($0.25–$0.60/photo): best for 1,000+ photos
- Save archival copies as TIFF; share as JPEG
- Clean photos and scanner glass before starting
Option 3: Scanning Services (Best for Big Collections)
Got thousands? Send them out. Services like ScanMyPhotos, DigMyPics, and Legacybox charge roughly $0.25–$0.60 per photo depending on resolution and volume, with prepaid mailers and tracking. You box up the shoebox, they scan everything at high resolution, and you get digital files plus your originals back.
Vet the service first: check reviews specifically mentioning lost or damaged originals, confirm they scan at 600 DPI minimum, and ask about their handling process. Photograph or inventory valuable originals before shipping. It’s not cheap for huge collections, but compare it to the 50+ hours you’d spend DIY — your time has value too.
After Scanning: Organize and Back Up
Scanning is only half the job. Organize files into folders by year and event (2024-07-04-family-bbq beats IMG_0042), and add names and dates to the most important ones while memories are fresh — future you will be grateful. Then back up properly: cloud plus a local copy, following the same logic as choosing between cloud storage and an external hard drive for anything irreplaceable.
Share the wealth: send digital copies to siblings and relatives. Distributed family archives survive anything — your sister’s copy is the backup of your backup. And consider printing the very best ones; a physical print in a frame is still the most reliable ‘backup’ ever invented. It needs no software updates, no subscriptions, and no passwords.
What Is the Best Way to Scan Old Photos Into Digital Files Without Damaging Them?
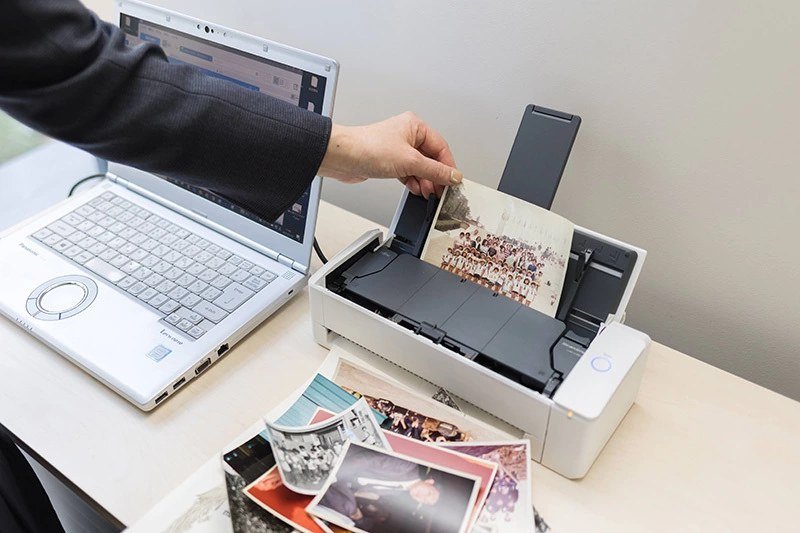
Old photos are fragile, and scanning itself can damage them if you’re careless. Handle prints by the edges — fingerprints leave oils that degrade photos over time. For curled photos, don’t force them flat under a scanner lid; place them under a stack of heavy books for 24–48 hours first to gently flatten. Never use the automatic document feeder on a multi-function printer for old photos — it can crease or jam them; always use the flatbed glass.
For negatives and slides, the game changes: a flatbed with a transparency adapter (the Epson Perfection V600, ~$230, is the enthusiast standard) scans negatives at quality that rivals professional services. Negatives contain far more detail than prints — scanning the negative rather than the print is like getting the original instead of a photocopy. If your family kept negatives, prioritize them; the quality difference is dramatic.
Fragile, stuck, or damaged photos deserve professional handling — a conservation-minded scanning service, not the drugstore kiosk. And whatever you do, scan before attempting any restoration or cleaning beyond a gentle microfiber wipe. The scan is your safety net; once it’s safely digital, you can experiment with the originals without fear.
Related reading: how to transfer photos from an iPhone to a Windows laptop · is it worth paying extra for cloud storage or an external hard drive
The Bottom Line
Phone apps handle small batches free and fast; a $100–$150 flatbed scanner at 600 DPI is the DIY sweet spot for hundreds of photos; services at $0.25–$0.60/photo win for thousands. Clean everything first, save archival TIFFs, organize by date as you go, and back up in two places. Then share copies with family — distributed archives survive anything.
Sources: Google PhotoScan app · Library of Congress: preserving family photographs