
How Do I Fix a Leaky Faucet without Calling a Plumber
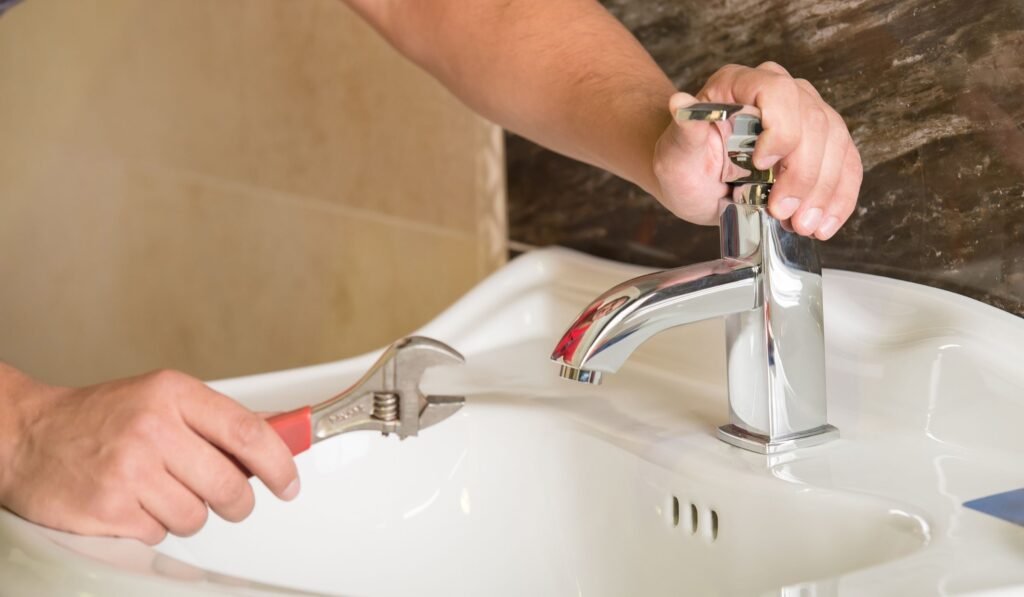
Drip. Drip. Drip. A leaky faucet is the most annoying sound in a home — and one of the most wasteful. A faucet dripping once per second wastes over 3,000 gallons of water per year, according to the EPA. That’s money literally going down the drain, plus the maddening soundtrack. The good news: most leaky faucets are a 30-minute fix requiring about $10 in parts and no plumbing experience.
I’ve fixed a half-dozen leaky faucets in my own homes, and every single one came down to the same culprit: a worn-out washer, O-ring, or cartridge. Here’s how to diagnose and fix yours without calling a plumber.
How Do I Fix a Leaky Faucet Without Calling a Plumber?
First, turn off the water supply. Look under the sink for the shut-off valves (one for hot, one for cold) and turn them clockwise. If there are no individual valves, shut off the main water supply to the house. Then turn the faucet on to drain remaining water and relieve pressure. Plug the drain with a rag or stopper — small parts love to disappear down drains.
Step 1: Identify Your Faucet Type
The repair depends on what kind of faucet you have. The four common types:
- Compression faucets (two handles you twist multiple turns) — the oldest style and the most leak-prone. Leaks are almost always worn rubber washers or O-rings.
- Ball faucets (single handle, common in kitchens, often Delta brand) — leaks usually mean worn springs, seats, or O-rings. Repair kits are widely available.
- Cartridge faucets (single or double handle, smooth quarter-turn action) — leaks mean the cartridge needs replacing. This is the easiest fix: pull the old cartridge, drop in a new one.
- Ceramic disk faucets (single lever, very smooth) — the most durable type; leaks are rare but usually mean cracked disks or worn seals.
If you’re not sure which you have, take a photo and show it to the staff at the hardware store — they identify faucets all day long.
Step 2: Disassemble the Faucet
Remove the decorative cap on the handle (it usually pops off with a flathead screwdriver), then unscrew the handle screw underneath. Lift off the handle to expose the stem or cartridge. For compression faucets, unscrew the packing nut with an adjustable wrench, then remove the stem — you’ll see the rubber washer held on by a small brass screw at the bottom.
Take the old parts with you to the store. Washers, O-rings, and cartridges come in dozens of sizes, and matching by eye is unreliable. Bringing the worn parts guarantees you buy the right replacements. A full washer/O-ring assortment kit costs under $10 and covers most compression faucet repairs.
Step 3: Replace the Worn Parts
For compression faucets: unscrew the old washer, install the new one (same size), and replace the O-ring around the stem. Apply a thin coat of plumber’s grease to the O-ring — it extends its life significantly.
For cartridge faucets: pull the retaining clip, slide out the old cartridge, and slide in the new one in the same orientation. This is genuinely a five-minute job once the handle is off.
For ball faucets: buy the brand-specific repair kit (usually $15–$25) and follow the included diagram. It involves replacing springs, seats, and O-rings — more parts, but still straightforward.
Step 4: Reassemble and Test
Reassemble in reverse order, turn the water supply back on slowly, and check for leaks. Run both hot and cold. If it still drips, the valve seat (the surface the washer presses against) may be corroded — a valve seat wrench and a few turns can resurface it, or the seat may need replacing.
When to Actually Call a Plumber
DIY has limits. Call a professional if: water is leaking from the base of the faucet into the cabinet (possible supply line issue), you find corroded or frozen parts that won’t budge, the shut-off valves themselves leak or won’t turn, or you’ve replaced the parts and it still leaks. Also call if you discover galvanized pipes — they’re prone to internal corrosion and often signal bigger plumbing issues.
A plumber visit for a faucet repair typically costs $150–$300, which is still worth it when the alternative is water damage. For bigger bathroom projects, our guide to small bathroom remodel costs helps you budget, and unclogging a drain without harsh chemicals covers the next most common DIY plumbing fix.
Preventing Future Leaks
Don’t crank handles shut with excessive force — that’s what wears out washers prematurely. A gentle close is enough. If your home has high water pressure (above 80 psi), consider a pressure regulator; high pressure shortens the life of every washer and seal in your plumbing. And when one faucet starts leaking, check the others — washers installed at the same time tend to fail around the same time.
Tools You’ll Need (Probably Already in Your Junk Drawer)
One of the best things about this repair is how little equipment it requires. Gather these before you start:
- Adjustable wrench — for packing nuts and supply connections. Wrap the jaws with a cloth or electrical tape to avoid scratching chrome finishes.
- Flathead and Phillips screwdrivers — for handle screws and decorative caps.
- Replacement washers, O-rings, or cartridge — matched to your old parts at the store.
- Plumber’s grease (silicone-based) — a $5 tube that lasts years and makes every rubber part seal better and last longer.
- Rag or towel — to plug the drain and wipe up water.
- Penetrating oil (like WD-40) — for corroded nuts that won’t budge. Spray, wait 15 minutes, try again.
- Flashlight or headlamp — under-sink areas are dark, and you’ll need both hands free.
If you find yourself doing home repairs regularly, our guide to the tools every homeowner needs for basic repairs covers the full starter kit worth owning.
Practical Takeaway
Turn off the water, identify your faucet type, bring the old parts to the hardware store for exact matches, and replace the washer, O-ring, or cartridge. It’s a 30-minute, $10 fix that stops thousands of gallons of waste per year. Save the plumber’s number for supply-line issues and corroded valves — but for a simple drip, you’ve got this. This Old House has excellent video walkthroughs if you want to watch the repair before attempting it.






2 thoughts on “How Do I Fix a Leaky Faucet without Calling a Plumber”