
How Can I Paint a Room Like a Professional
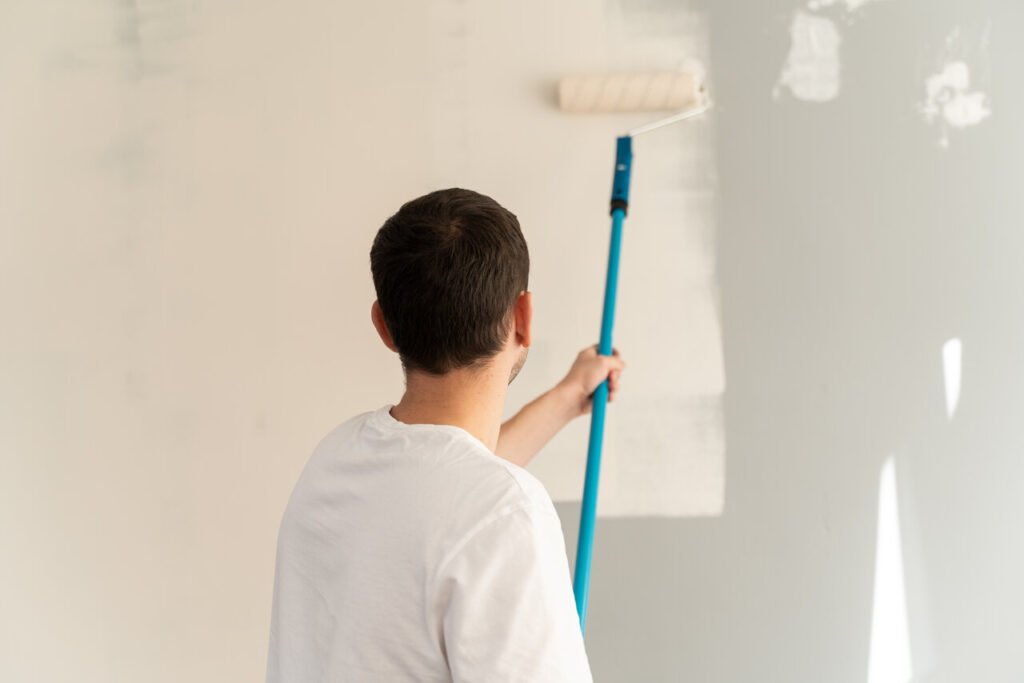
Back view of the young caucasian man painting walls while holding paint roller dirty of the paint. Male remodeling his new apartment
There’s painting a room, and then there’s painting a room like a professional — crisp lines, even coverage, no roller marks, no drips on the trim. I used to think the difference was talent. After painting a dozen rooms and watching actual pros work, I can tell you it’s not talent at all. It’s preparation, the right tools, and a specific order of operations. The painting itself is the easy part.
Here’s exactly how to paint a room like a professional, step by step.
How Can I Paint a Room Like a Professional?
Pros spend roughly 70 percent of their time on prep and 30 percent on actual painting. Amateurs flip that ratio and wonder why the result looks amateur. If you take one thing from this article, let it be this: the prep is the job.
Step 1: Prep the Room Properly
Move furniture to the center and cover it with plastic sheeting or drop cloths. Remove outlet covers, switch plates, curtain hardware, and vent covers — don’t paint around them; it looks terrible and takes longer anyway. Lay canvas drop cloths on the floor (plastic sheeting is slippery and bunches up; canvas stays put and absorbs drips).
Clean the walls. This step gets skipped constantly and it matters: kitchen walls have grease, bathrooms have moisture residue, and every wall has dust. A quick wipe with a damp cloth or a TSP substitute gives the paint something clean to grip. Fill nail holes and dents with spackle, let it dry, sand smooth with 120-grit sandpaper, and wipe away the dust.
Step 2: Use Quality Tools (They Matter More Than the Paint)
I’m serious: a $15 brush beats a $5 brush more than premium paint beats budget paint. Pros use:
- A 2.5-inch angled sash brush for cutting in edges and trim. This is your precision tool — don’t cheap out.
- A 9-inch roller with the right nap: 3/8-inch nap for smooth walls, 1/2-inch for lightly textured walls. Buy a sturdy roller frame; wobbly frames leave tracks.
- Quality painter’s tape — but use it sparingly. Pros mostly cut in freehand; tape is for genuinely tricky spots. If you do tape, press the edge firmly and remove it while the paint is still slightly tacky.
- A 5-gallon bucket with a roller grid instead of a paint tray for large rooms. Trays tip over; buckets don’t, and you refill less.
Step 3: Prime When It Counts
You don’t always need primer, but you do when: painting over dark colors with light ones, covering stains or water damage (use stain-blocking primer), painting new drywall, or switching from oil-based to latex paint. Skipping primer in these situations means extra coats — which costs more in paint and time than the primer would have.
Step 4: Cut In, Then Roll — In That Order
Start with the ceiling (if you’re painting it), then walls, then trim. Within the walls: cut in first with your angled brush — a 2 to 3-inch band along ceilings, corners, baseboards, and around windows and doors. Then immediately roll the wall while the cut-in edge is still wet, blending the two together. This “wet edge” technique is the core professional skill; it prevents the visible border lines (called “hatbanding”) that scream DIY.
Roll in a W or M pattern, then fill it in with parallel strokes — don’t just roll straight up and down. Work in 3×3-foot sections, maintain a wet edge, and don’t over-roll; going back over partially dried paint creates texture marks. Two thin coats always beat one thick coat.
Step 5: Don’t Rush the Drying
Wait the full recoat time on the can — usually 2 to 4 hours for latex. Painting the second coat too early pulls up the first. Ventilate the room but avoid pointing fans directly at wet walls, which causes uneven drying. And don’t judge the color until it’s fully dry; wet paint always looks darker.
Choosing Your Paint
For most rooms, a quality eggshell or satin latex paint is the sweet spot — washable enough for real life, forgiving to apply. Flat paint hides wall imperfections but scuffs easily; semi-gloss is for trim and doors. If you’re painting a tricky space, our guide to choosing the right paint color for a dark room helps with color selection, and the best paint colors for selling a home covers what buyers want if resale is on your mind.
For brand guidance and independent testing, Consumer Reports’ paint ratings are worth checking before you buy.
Common Mistakes That Ruin a Paint Job
I’ve made every one of these, so you don’t have to:
- Skipping the second coat. One coat always looks patchy once it dries, even if it looked fine wet. Budget for two coats from the start.
- Painting in the wrong conditions. Extreme heat, cold, or humidity affects drying and adhesion. Ideal conditions: 50–85°F with moderate humidity. Don’t paint a bathroom right after a steamy shower.
- Using the wrong sheen. Flat paint in a hallway or kids’ room will show every scuff within months. Match sheen to the room’s wear level.
- Leaving tape on too long. Tape left for days bonds to the paint and peels it off when removed. Pull tape within a day, while the paint is dry but fresh.
- Not boxing the paint. If you’re using multiple gallons of the same color, mix them together (“boxing”) in a bucket first. Slight variations between cans create visible differences on the wall.
- Overloading the roller. A dripping roller leaves stipple marks and drips. Load it, then roll off the excess on the grid — the roller should feel damp, not soaked.
Cleanup, Storage, and Touch-Ups
Clean brushes and rollers immediately — dried latex paint ruins tools. Wash with warm water and soap until the water runs clear, then reshape brush bristles and hang to dry. Quality tools cleaned properly last for years of projects.
Save leftover paint for touch-ups: label the can with the room, date, and color formula (take a photo of the formula sticker). Store cans indoors — garage freeze-thaw cycles ruin paint. For touch-ups, use the original brush or a small roller and feather the edges; touched-up spots are less visible if you don’t glob the paint on.
One last pro habit: do a final walkthrough in daylight the next day. Artificial light hides flaws that morning sun reveals — drips, missed spots, uneven edges. Catch them now while the paint and tools are still out, and the job is truly done.
Practical Takeaway
Prep thoroughly, invest in a good brush and roller, prime when the situation calls for it, cut in before rolling with a wet edge, and apply two thin coats. That’s genuinely the whole secret — there’s no magic technique beyond doing the unglamorous steps properly. Take your time with prep and the painting practically does itself.







1 thought on “How Can I Paint a Room Like a Professional”