
How Do I Install a Ceiling Fan By Myself
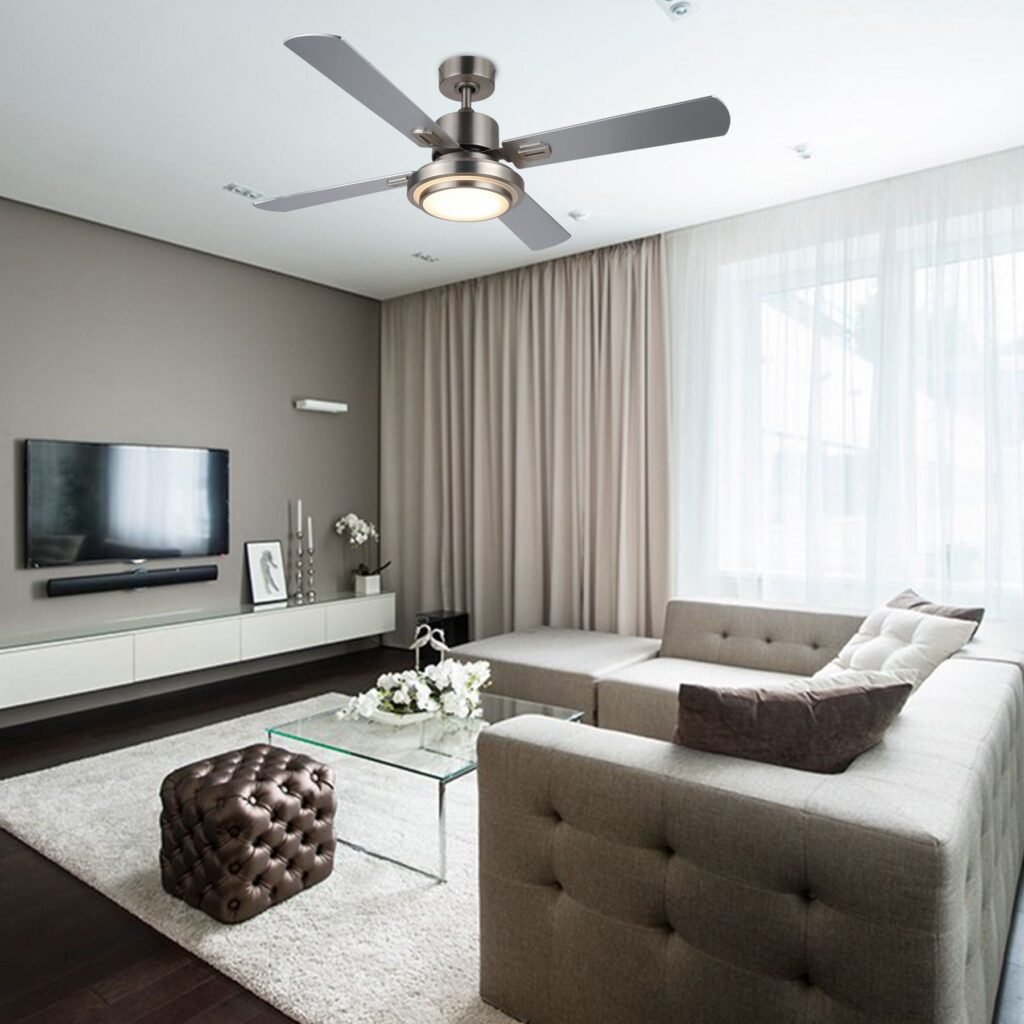
Installing a ceiling fan is one of the most satisfying DIY projects: it takes a couple of hours, costs far less than hiring an electrician, and the result is something you use every single day. A good ceiling fan can make a room feel 4–5 degrees cooler in summer and push warm air down in winter, trimming energy bills year-round. I’ve installed five of them now, and the process is genuinely straightforward — as long as you respect the electricity and the weight involved.
Here’s how to install a ceiling fan by yourself, safely and correctly.
How Do I Install a Ceiling Fan by Myself?
Safety first, no exceptions: turn off the power at the breaker (not just the wall switch), verify it’s off with a non-contact voltage tester, and never work on a ladder alone if you can avoid it. Ceiling fans are heavy (15–50 pounds) and you’re working overhead — a helper to hold the fan during mounting makes the job dramatically easier and safer.
Before You Start: Check Your Electrical Box
This is the step people skip, and it’s the most important one. A ceiling fan cannot hang from a standard light-fixture box — the vibration and weight will pull it down, possibly onto someone. You need a fan-rated box marked “acceptable for fan support,” secured to a joist or with a brace bar between joists.
Check your existing box: turn off power, remove the old light fixture, and look at the box. If it’s fan-rated and firmly mounted, you’re good. If it’s a standard plastic or lightweight metal box, you must replace it. The easiest fix is a retrofit fan brace ($20–$30) — an expandable bar that fits through the existing ceiling hole and braces between joists, with a fan-rated box attached. It installs from below with no attic access needed. If your box isn’t fan-rated, do not proceed until it is. This isn’t optional.
Tools and Materials
- New ceiling fan kit (includes mounting bracket, motor, blades, and usually a light kit)
- Fan-rated electrical box or retrofit brace (if needed)
- Screwdrivers (flathead and Phillips)
- Wire strippers
- Non-contact voltage tester
- Wire nuts (usually included with the fan)
- Ladder tall enough to work comfortably at ceiling height
- Headlamp (ceiling work with the power off means no light — plan for this)
Step-by-Step Installation
Step 1: Kill the Power and Remove the Old Fixture
Turn off the breaker, confirm with your voltage tester, then remove the old light fixture. Disconnect the wires (note which connects to which — take a photo), and remove the old mounting bracket. Inspect the box as described above.
Step 2: Install the Mounting Bracket
Attach the fan’s mounting bracket to the fan-rated box per the manufacturer’s instructions. This bracket is what bears the fan’s weight — every screw must be tight, and the bracket must sit flush and level. If it wobbles now, the fan will wobble forever.
Step 3: Assemble the Fan Motor (on the Ground)
Do as much assembly as possible before lifting anything overhead: thread the wires through the downrod, attach the downrod to the motor, and secure the canopy. Choose your downrod length: for 8-foot ceilings, a short downrod or flush mount; for 9+ foot ceilings, a longer downrod so blades sit 8–9 feet off the floor. Blades should never be lower than 7 feet.
Step 4: Hang the Motor and Wire It
Hang the motor assembly on the bracket’s hook (most brackets have one — this is where a helper earns their keep). Then connect the wires: black to black (hot), white to white (neutral), green or bare copper to green/bare (ground). If there’s a separate blue wire (for the light kit), connect it to the black as well unless you have separate wall switches for fan and light — in which case black goes to one switch wire and blue to the other. Secure each connection with a wire nut, tug-test them, and tuck everything neatly into the box.
Step 5: Attach Blades and Light Kit
Attach the blade irons to the motor first, then the blades to the irons (doing it in this order is easier overhead). Install the light kit per instructions. Slide the canopy up to cover the bracket and wiring.
Step 6: Test and Balance
Restore power and test all speeds plus the light. If the fan wobbles, use the included balancing kit (small weights that clip to blades) — a wobbling fan is annoying and wears out the mounting prematurely. Most wobble comes from blades at slightly different heights or weights; the kit’s instructions walk you through identifying the culprit blade.
Setting the Fan Direction
Ceiling fans have a direction switch on the motor housing: counterclockwise in summer (looking up at the fan) creates a cooling downdraft; clockwise in winter at low speed pushes warm air down from the ceiling without creating a chilly breeze. Switching seasonally is a two-second job that meaningfully affects comfort and energy use.
Common Mistakes to Avoid
- Hanging from a non-fan-rated box. The number-one danger. Don’t do it.
- Blades too low. Minimum 7 feet from floor to blades — non-negotiable for safety.
- Wrong fan size. A 52-inch fan suits rooms up to ~400 sq ft; smaller rooms need 36–44 inches. An oversized fan in a small room feels like a helicopter.
- Skipping the balancing. A wobbling fan loosens its mounting over time.
- Forgetting the light kit wiring. Decide before you wire whether fan and light share a switch.
If your existing fan develops a wobble later, our guide to fixing a wobbly ceiling fan covers diagnosis and repair. And if you’re upgrading the room’s efficiency overall, see energy-efficient upgrades for older homes.
Choosing the Right Fan Before You Buy
Match the fan to the room. Size: 29–36 inches for rooms up to 75 sq ft (small bedrooms, offices); 42–48 inches for up to 175 sq ft; 52+ inches for great rooms and large living areas. Mount type: flush-mount (“hugger”) fans for ceilings under 8 feet; downrod mounts for 8–10 feet; extended downrods for vaulted ceilings (with an angled mount adapter for slopes over 30 degrees). Damp-rated fans are required for covered porches and bathrooms — standard indoor fans will corrode in humidity. Look for ENERGY STAR certification and a DC motor for the quietest, most efficient operation; they’re pricier upfront but cheaper to run and whisper-quiet on low.
When to Hire an Electrician Instead
DIY is fine when you’re replacing an existing fixture on an existing switch. Hire a pro if: there’s no existing electrical box where you want the fan, you need new wiring run through walls or attic, your home has old knob-and-tube wiring, or anything about the wiring looks unfamiliar or alarming. An electrician visit for a straightforward fan install runs $150–$300 — cheap insurance against electrical mistakes.
Practical Takeaway
Verify you have a fan-rated box (install a retrofit brace if not), kill the power and verify it, assemble as much as possible on the ground, wire black-to-black/white-to-white/ground-to-ground, balance the blades, and set the seasonal direction. It’s a 2–3 hour project that pays you back every day in comfort and energy savings — one of the best DIY returns in the house. ENERGY STAR’s ceiling fan guidance covers efficiency ratings to look for when choosing your fan.






1 thought on “How Do I Install a Ceiling Fan By Myself”