How Do I Install Laminate Flooring Over Tile
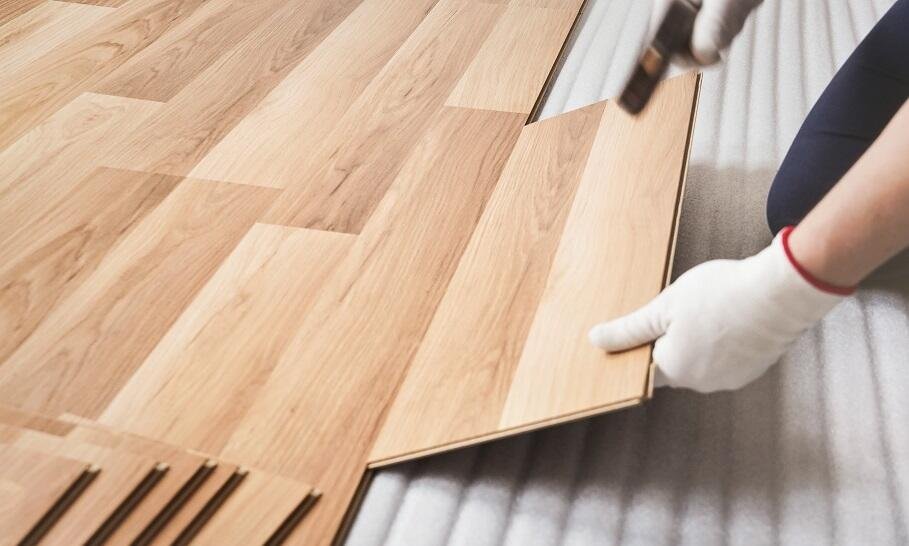
Installing new flooring is expensive and disruptive — unless you install it over the existing floor. Laminate over tile is one of the smartest flooring shortcuts: you skip the miserable demolition (dust, noise, dumpster, days of work), save $1,000–$3,000 in demo and disposal costs, and get a brand-new floor in a weekend. I’ve done this in two rooms now, and both times the result looked like a full professional installation.
Here’s how to install laminate flooring over tile correctly — because “floating it on top” only works if the prep is right.
How Do I Install Laminate Flooring Over Tile?
The short answer: yes, you can install laminate directly over ceramic or porcelain tile, as long as the tile is in good condition — firmly bonded, flat, and level. The tile becomes your subfloor. But “good condition” has specific requirements, and skipping the assessment is where these projects go wrong.
Step 1: Assess the Existing Tile
Check every tile: tap for hollow sounds (loose tiles must be re-bonded or removed — a floating floor over loose tile will flex and fail), look for cracked tiles (remove and fill or replace them), and check flatness with a long straightedge. Laminate tolerates about 3/16 inch of variation over 10 feet; more than that and the click-lock joints will stress and eventually separate.
Grout lines are the main concern: wide or deep grout joints (over 1/4 inch wide or 1/8 inch deep) can telegraph through laminate over time or cause flexing. The fix is simple — skim-coat the tile with a floor-leveling compound or embossing leveler to create a smooth, uniform surface. This is the step that separates lasting installations from problem ones.
Also consider height: laminate plus underlayment adds 3/8 to 1/2 inch. Check door clearances (you may need to trim door bottoms), transitions to adjacent rooms, and appliance fits (dishwashers under counters are the classic gotcha — measure!).
Step 2: Prep the Surface
- Clean thoroughly. Degrease the tile — laminate underlayment and leveling compounds need a clean surface to perform. Mop with a degreasing cleaner and let dry completely.
- Repair damage. Re-bond loose tiles with thinset, fill cracks and missing grout, remove any wax or sealers.
- Level as needed. Apply floor-leveling compound over the tile per manufacturer instructions if grout lines are deep or the floor is uneven. Let it cure fully (usually 24 hours).
- Address moisture. In bathrooms or below-grade installations, lay a 6-mil poly vapor barrier over the tile before the underlayment. Tile over concrete slabs can wick moisture — the barrier is cheap insurance.
Step 3: Underlayment
Underlayment is mandatory — never install laminate directly on tile. It provides moisture protection, sound dampening, minor leveling, and the slight cushioning that click-lock joints need. Options:
- Standard foam underlayment ($0.30–$0.50/sq ft): basic cushioning and sound reduction. Fine for most installations.
- Underlayment with attached vapor barrier ($0.50–$0.80/sq ft): the smart choice over tile, especially on concrete slabs or in moisture-prone areas.
- Premium acoustic underlayment ($0.80–$1.50/sq ft): for condos, apartments, or anyone sensitive to footstep noise. Worth it in multi-story homes.
- Laminate with pre-attached underlayment: many quality laminates include it — convenient, but verify it meets your needs (some pre-attached pads are thin).
Roll the underlayment perpendicular to the direction you’ll lay the planks, butt edges together (don’t overlap), and tape seams per manufacturer instructions.
Step 4: Install the Laminate
Acclimate the laminate in the installation room for 48–72 hours — this is critical; skipping it causes expansion problems later. Then:
- Plan the layout: planks usually run parallel to the longest wall or toward the main light source. Stagger end joints at least 12 inches between rows (the “random” look is structural — aligned joints weaken the floor).
- Maintain expansion gaps: leave 3/8 to 1/2 inch around all walls, pipes, and fixed objects. Laminate expands and contracts with humidity — without gaps, it buckles. Use spacers during installation; baseboards and quarter-round cover the gaps afterward.
- Click and lock: angle each plank into the previous row’s locking mechanism and press down. You should feel/hear it engage. Never force it — if a joint won’t close, something’s misaligned; back up and retry. A tapping block and pull bar ($15–$20 for the installation kit) are essential for the final row and tight spots.
- Cut as needed: a laminate cutter ($50–$80, cleanest cuts), circular saw with fine-tooth blade (cut face-down to prevent chipping), or jigsaw for notches around door frames. Undercut door jambs with a jamb saw or oscillating tool so planks slide underneath — this looks infinitely more professional than caulking around jambs.
- Last row: measure and rip-cut planks to width, maintaining the expansion gap. The pull bar is essential here.
Step 5: Finishing
Remove spacers, install baseboards or quarter-round to cover expansion gaps (nail to the wall, never to the floor — the floor must float), install transition strips at doorways and room changes (T-molding for same-height floors, reducers for height differences), and reinstall or install shoe molding. Caulk only where laminate meets tubs or fixed plumbing — everywhere else, the floor needs to move.
Common Mistakes
- Skipping the level check. The number-one cause of failed click-lock joints. If the tile isn’t flat enough, level it.
- No expansion gaps. Buckling is guaranteed without them — usually in summer when humidity peaks.
- Installing in wet areas. Standard laminate doesn’t belong in full bathrooms or laundry rooms — use waterproof laminate or LVP there instead.
- Heavy furniture without protection: use felt pads on everything; dragging furniture across laminate scratches it permanently.
- Wet mopping: damp mop only — standing water is laminate’s enemy, seeping into joints and causing swelling.
For choosing the right laminate, our guide to the best flooring for homes with dogs covers durability ratings in detail. If you’re weighing laminate against other options, Consumer Reports’ flooring tests are worth consulting.
Cost Breakdown
Laminate: $1.50–$4/sq ft for quality product (AC4+ rating). Underlayment: $0.30–$1.50/sq ft. Leveling compound: $30–$60. Installation kit and misc: $30. For a 200 sq ft room: $500–$1,200 DIY versus $1,500–$2,500 professionally installed — plus the $1,000+ saved by not demolishing tile. It’s among the cheapest ways to completely transform a room.
Practical Takeaway
Verify the tile is solid, flat, and level; skim-coat deep grout lines; always use underlayment (with vapor barrier over concrete); acclimate planks 48+ hours; maintain expansion gaps religiously; stagger joints; and undercut door jambs for a pro finish. Done right, laminate over tile is indistinguishable from a full new-floor installation — at half the cost and a fraction of the disruption. If your existing floors squeak rather than just looking tired, check our guide to fixing squeaky hardwood floors first — silence the movement before covering it up.