
How to Cook Perfect Rice on the Stove
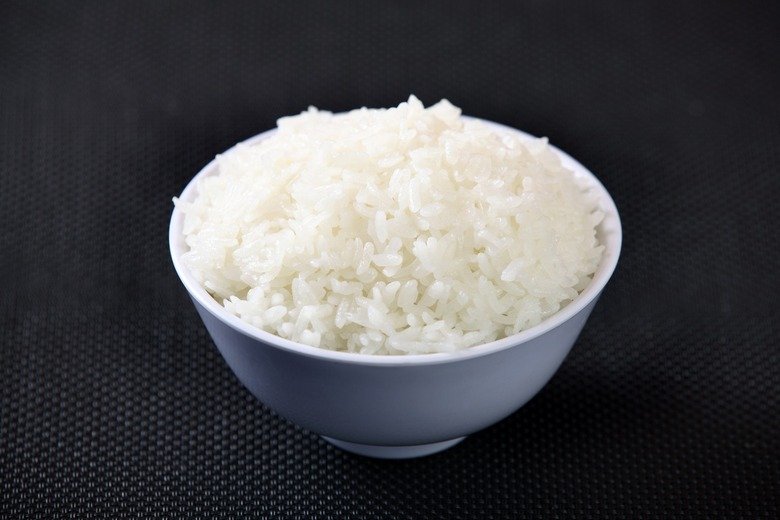
Steamed White rice
Rice seems like it should be foolproof, and yet so many of us produce batches that are gummy, crunchy, or stuck to the pot. Learning the best way to cook rice on the stove is one of those small skills that quietly upgrades dozens of meals, because rice shows up everywhere: under stir-fries, beside curries, inside burritos, and as the base for takeout-style fried rice when you plan ahead.
The method is simple, but every step has a reason. Once you understand the reasons, you will never need to look up the ratio again.
What Is the Best Way to Cook Rice on the Stove?
Step 1: Rinse the Rice
Rinse white rice in cold water until the water runs mostly clear, usually two or three rinses. This washes away excess surface starch, which is the main cause of gummy, clumpy rice. For brown rice, a quick rinse is enough. Some enriched white rice in the US is coated with added nutrients, and rinsing washes those off; if that concerns you, skip the rinse and accept slightly stickier rice, or buy rice that is not enriched.
Step 2: Use the Right Ratio
For long-grain white rice, the standard ratio is one part rice to one and a half parts water by volume. For jasmine rice, which is a bit softer, use one to one and a quarter. Basmati does well at one to one and a half. Brown rice needs more water and time: one part rice to two parts water. Short-grain sushi rice wants one to one and a quarter plus a short soak before cooking.
Here is the thing most recipes do not tell you: the exact ratio matters less than consistency. Pick a ratio, use the same pot and the same measuring cup every time, and adjust once based on results. Within two batches you will have it dialed in for your stove.
Step 3: Bring to a Boil, Then Go Low
Combine rice, water, and a pinch of salt in a pot with a tight-fitting lid. Bring it to a boil over medium-high heat, then immediately reduce to the lowest simmer your burner manages and cover. The lid is doing real work here, trapping steam that finishes cooking the top layer of rice. A loose or missing lid lets steam escape and leaves you with crunchy tops and mushy bottoms.
Step 4: Do Not Touch It
Set a timer and walk away. White rice needs about 15 minutes; brown rice needs 40 to 45. Do not lift the lid, do not stir, do not peek. Every peek releases steam and drops the temperature, adding minutes to the cook time. Stirring is even worse: it breaks grains and releases starch, guaranteeing gumminess.
Step 5: Rest, Then Fluff
When the timer goes off, take the pot off the heat and let it stand, lid still on, for ten minutes. This resting step lets the moisture redistribute evenly, so the bottom is not wet and the top is not dry. Then fluff gently with a fork, not a spoon, lifting the grains rather than mashing them.
Troubleshooting Common Rice Problems
- Mushy rice: too much water, or the heat was too low and it steamed too long. Reduce water slightly next time.
- Crunchy rice: not enough water, heat too high, or the lid did not seal. Add a few tablespoons of water and give it five more minutes on low.
- Burnt bottom: the burner runs hot. Use a diffuser, a heavier pot, or a lower flame.
- Stuck to the pot: a thin film is normal and even delicious; a thick stuck layer means too little water or too much heat.
Leveling Up: Beyond Plain Rice
Once the basic method is automatic, small upgrades make a big difference. Toast the dry rice in butter or oil for a minute before adding water for a nutty pilaf flavor. Swap water for chicken or vegetable broth. Toss in a bay leaf, a smashed garlic clove, or a strip of citrus peel while it cooks. For coconut rice, replace half the water with coconut milk and add a pinch of sugar.
And here is a pro move: deliberately cook extra. Day-old refrigerated rice is drier and firmer, which makes it ideal for fried rice, since fresh rice turns mushy in the wok. Just remember to cool and refrigerate it promptly, since rice needs the same care as any leftover; the guidance on telling whether leftovers are still safe applies to that container of rice too. Rice also pairs naturally with budget-friendly high-protein meals, stretching affordable proteins into filling dinners.
For visual guides to different rice varieties, The Kitchn has a thorough rice primer, and Serious Eats explains the science of starch and steaming.
Rice Cooker vs. Stove: An Honest Comparison
Rice cookers are wonderful appliances, and if you eat rice daily, one is worth owning. They automate the timing, hold rice warm for hours, and free up a burner. But they do not make better rice than the stovetop method; they make it more convenient. The stovetop gives you more control over texture and works for any quantity, while a rice cooker excels at set-and-forget consistency. If you already own one, use it happily. If you do not, know that the pot method above produces identical results with a little more attention. There is no shame in either; there is only good rice and bad rice.
Freezing Cooked Rice
Cooked rice freezes beautifully, which makes it perfect for meal prep. Cool it quickly, portion into freezer bags, press flat, and freeze for up to three months. Reheat straight from frozen in the microwave with a sprinkle of water, covered, and it comes back nearly perfect. Having frozen rice ready is what makes weeknight takeout-style fried rice a fifteen-minute affair instead of a planned event. Just remember the food safety basics: cool quickly, freeze promptly, and do not leave it at room temperature while you decide.
The takeaway: rinse, measure consistently, boil then go low, do not peek, rest ten minutes, fluff with a fork. Six steps, perfect rice, every time.







1 thought on “How to Cook Perfect Rice on the Stove”