How Do I Know If My Home Needs New Insulation
Insulation is the invisible workhorse of your home — you never see it, but you feel it every month in your energy bills and every day in your comfort. The tricky part: unlike a leaky faucet, you can’t just look at insulation and know it’s failing. I lived with inadequate attic insulation for two years, paying inflated heating bills and wondering why the upstairs was always cold, before a home energy audit revealed the problem in ten minutes.
Here’s how to know if your home needs new insulation — the signs, the checks you can do yourself, and what to do about it.
How Do I Know If My Home Needs New Insulation?
Insulation doesn’t last forever. Fiberglass batts settle and compress over 15–20 years, losing R-value. Blown insulation settles too — it’s normal for it to lose 10–20 percent of its depth. Older homes (pre-1980) often have little or no insulation by modern standards — building codes barely addressed it. And renovations, pest damage, and roof leaks can destroy insulation in specific areas. Here’s how to check.
Sign 1: High Energy Bills
The most common symptom. If your heating and cooling bills are consistently higher than similar homes in your area — or have crept up over the years without rate increases explaining it — poor insulation is a prime suspect. Compare with neighbors in similar-sized homes; the ENERGY STAR Home Energy Yardstick (free online tool) benchmarks your usage against comparable homes. A 20–30 percent premium over similar homes strongly suggests envelope problems.
Sign 2: Uneven Temperatures and Drafts
Rooms that are always too hot or too cold relative to the rest of the house — the bonus room over the garage that’s freezing in winter, the upstairs that’s sweltering in summer — usually trace to missing or inadequate insulation in the walls, floor, or ceiling bounding that room. Cold walls (touch exterior walls on a cold day — they shouldn’t feel dramatically colder than interior walls), drafts near outlets and baseboards on exterior walls, and floors that are cold over crawl spaces or garages all point to insulation gaps.
Sign 3: Visual Inspection (The Definitive Check)
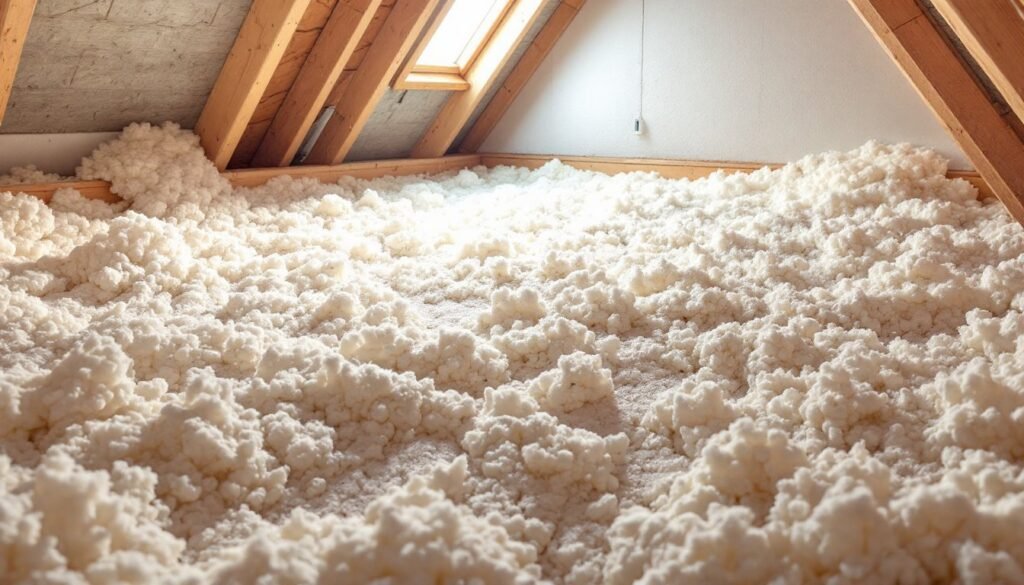
Attic: Grab a flashlight and look. If you can see the ceiling joists, you definitely need more insulation — the DOE recommends R-38 to R-60 (12–18 inches of blown fiberglass or cellulose) in most US climate zones. Measure the depth with a ruler. Look for compressed, water-stained, or missing sections — insulation damaged by roof leaks loses effectiveness permanently and must be replaced, not just topped off. Check for gaps around the attic hatch, plumbing vents, and chimneys — these bypasses leak enormous amounts of heat.
Walls: Harder to inspect without opening them, but you can remove an outlet cover on an exterior wall (turn off power first) and peek into the wall cavity with a flashlight — you’ll see whether insulation exists. Infrared thermometer readings ($25–$40 for a basic one) on exterior walls reveal cold spots indicating missing insulation. In winter, thermal imaging (some utilities lend cameras, or hire a thermographer for $200–$400) shows exactly where insulation is missing.
Crawl space/basement: Look for insulation between floor joists above unheated spaces — it should be snug against the subfloor with the vapor barrier facing up (toward the heated space). Sagging, fallen, or water-damaged batts are doing nothing and need replacement. Rim joists (where the house framing meets the foundation) are frequently uninsulated — a major leak point that’s cheap to fix with rigid foam and caulk.
Sign 4: Ice Dams, Frozen Pipes, and Pest Evidence
Ice dams on the roof edge indicate heat escaping through the attic — melting snow that refreezes at the eaves. Frozen pipes in exterior walls suggest inadequate wall insulation. Pest droppings or nesting material in insulation means it’s contaminated and compressed — replace it (and seal the entry points, or new insulation becomes the next nest). Musty smells from the attic or crawl space can indicate moisture-damaged insulation growing mold.
Sign 5: Your Home’s Age
As a rule of thumb: homes built before 1980 likely have inadequate insulation by modern standards; pre-1960 homes may have none in the walls at all. If your home has never had an insulation upgrade and it’s over 40 years old, assume it needs one — an inspection will confirm where.
What to Do: Priorities and Costs
Priority order (biggest impact first): attic (heat rises — this is always first), air sealing (do this before adding insulation — insulation doesn’t stop air leaks), walls (blown-in cellulose or fiberglass through small holes — $1,500–$3,500 for a typical home, no drywall demolition needed), floors over unheated spaces, basement/crawl space walls, ductwork in unconditioned spaces.
Typical costs: blowing additional attic insulation: $1,500–$3,000. Dense-packing walls: $1,500–$3,500. Crawl space encapsulation with insulation: $3,000–$7,000. Payback: 2–5 years through energy savings for attic and air sealing — among the fastest of any home improvement.
DIY vs. pro: blowing attic insulation is very DIY-able (free blower rental with insulation purchase at home centers). Wall dense-packing and spray foam are pro jobs — spray foam especially (the chemistry and application require training and equipment). Never DIY around vermiculite insulation (possible asbestos — test first, $30–$50 lab test) or knob-and-tube wiring (insulation over it is a fire hazard — get an electrician’s assessment first).
Get an Energy Audit First
Before spending thousands, get a professional energy audit ($200–$500, often subsidized or free through utilities). It includes a blower door test (quantifies air leakage) and infrared imaging (shows exactly where insulation is missing). The audit report prioritizes improvements by cost-effectiveness — it’s the roadmap that prevents wasting money on the wrong upgrades. Many utilities also offer rebates for insulation work identified in audits.
Don’t forget federal tax credits — insulation qualifies for energy efficiency credits (up to 30 percent under current law), plus potential state and utility incentives. Check the ENERGY STAR rebate finder before starting. Our guide to energy-efficient upgrades for older homes covers the full incentive picture.
Practical Takeaway
Check your attic depth first (if you see joists, you need more), look for uneven temperatures and high bills as symptoms, inspect walls via outlets and infrared, and get a professional energy audit before major spending. Prioritize air sealing then attic insulation — the fastest paybacks in the house — and layer tax credits and rebates over everything. Good insulation is invisible, but its absence shows up everywhere: in your bills, your comfort, and your home’s durability. Pair it with the strategies in our winter energy efficiency guide and you’ll feel the difference from the first cold snap.