How Do I Clean Makeup Brushes? Step-by-Step Guide
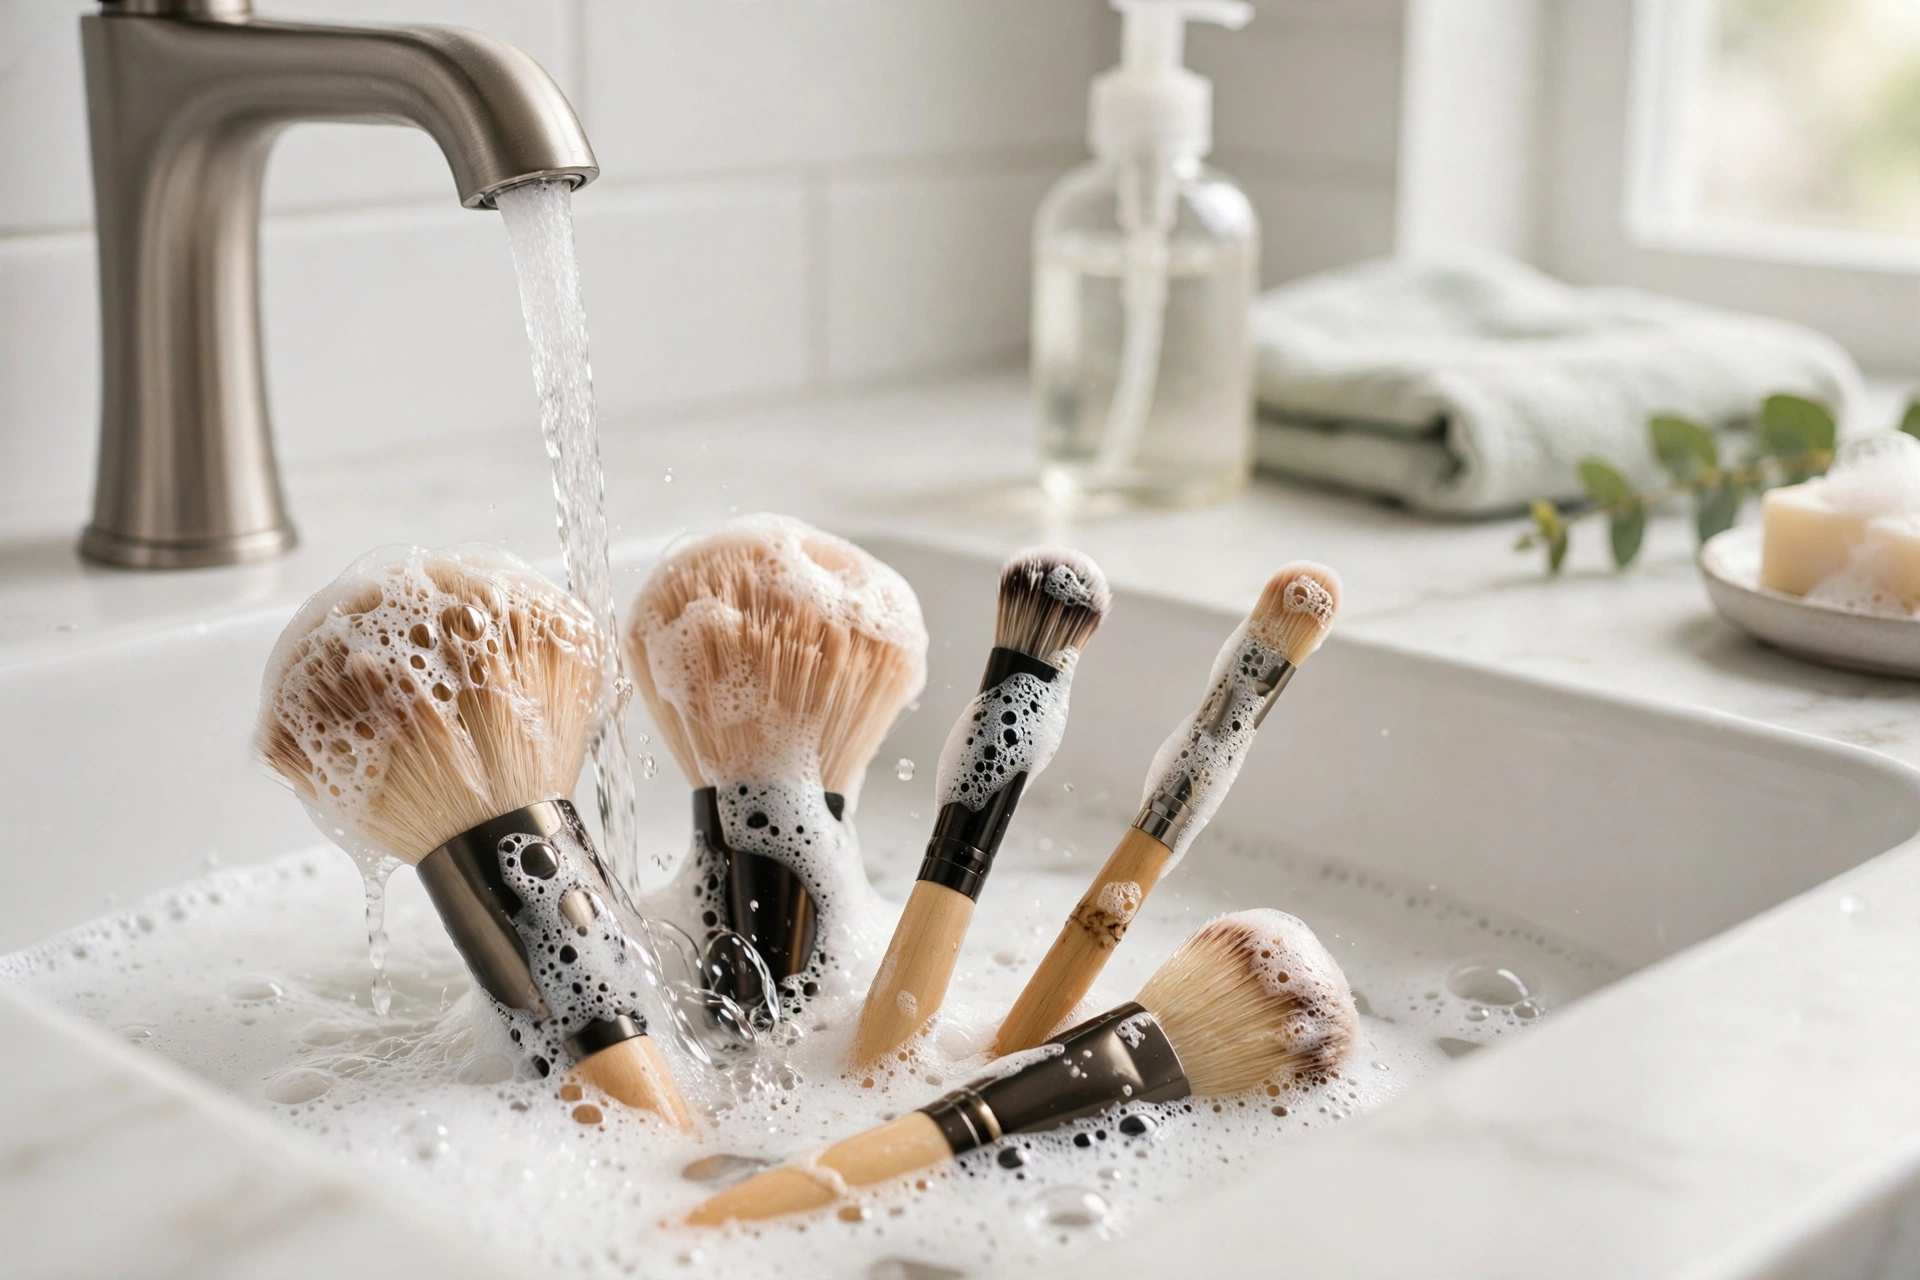
If you are wondering how do i clean makeup brushes, you are asking one of the most important questions in beauty. Dirty brushes harbor bacteria, old product, oils, and dead skin — a cocktail that causes breakouts, muddy makeup application, and even eye infections. Yet most people clean their brushes far less often than they should. This guide covers exactly how to do it right, how often, and what to use.
Why Cleaning Matters More Than You Think
- Breakouts: bacteria multiply in damp, product-loaded bristles. Every use transfers them back to your skin.
- Bad application: caked-on old product makes brushes stiff and streaky. Clean brushes blend smoothly and pick up pigment evenly.
- Eye infections: mascara wands and eyeliner brushes are the highest risk — sharing them or using them dirty can cause styes and conjunctivitis.
- Brush longevity: product buildup breaks down bristles and loosens ferrules (the metal part). Clean brushes last years longer.
- Wasted product: dirty brushes absorb foundation instead of applying it, so you use more product for worse results.
How Often Should You Clean Makeup Brushes?
- Foundation and concealer brushes: once a week. Liquid and cream products are bacteria magnets.
- Powder brushes (blush, bronzer, setting powder): every 1 to 2 weeks. Dry products are lower risk but still accumulate oils.
- Eyeshadow brushes: every 1 to 2 weeks, or between colors if you want true color payoff.
- Eyeliner and lip brushes: weekly — these touch mucous membranes.
- Beauty sponges: after every single use. Sponges are the highest-risk tool because they stay damp inside.
Daily spot-cleaning with a quick-dry brush cleanser between deep washes keeps everything fresher and extends time between full washes.
What You Need
- Gentle cleanser: baby shampoo, gentle facial cleanser, or a dedicated brush shampoo. All work well — you do not need an expensive specialty product.
- Lukewarm water. Hot water damages bristles and loosens glue; cold water does not dissolve product well.
- A textured cleaning pad or mat (optional but helpful): silicone mats with ridges make deep cleaning faster.
- A clean towel for reshaping and drying.
- Olive oil or coconut oil (optional): a drop helps dissolve stubborn waterproof or long-wear products before shampooing.
Step-by-Step: Deep Cleaning Method
Step 1: Wet the bristles
Hold the brush with bristles pointing down under lukewarm running water. Wet only the bristles — avoid soaking the ferrule and handle, since water loosens the glue holding bristles in place and can cause shedding.
Step 2: Apply cleanser
Put a drop of baby shampoo or brush cleanser in your palm or on a cleaning mat. For heavily soiled brushes (foundation, concealer), first massage a drop of olive oil through the bristles to break down the product, then follow with shampoo.
Step 3: Swirl and lather
Gently swirl the brush in your palm or on the mat in circular motions. You will see makeup releasing into the lather. For dense brushes, work the cleanser through with your fingers, gently squeezing from base to tip. Never mash or bend bristles aggressively.
Step 4: Rinse thoroughly
Rinse under lukewarm water, bristles down, until the water runs completely clear and no suds remain. Residue left in bristles irritates skin and attracts dirt faster. This step takes longer than you expect — be patient.
Step 5: Remove excess water
Gently squeeze bristles from base to tip with a clean towel. Do not wring or twist.
Step 6: Reshape and dry
Reshape the bristles with your fingers while damp — this is what keeps brushes looking new. Lay flat on a towel with bristles hanging slightly over a counter edge so air circulates. Never dry brushes upright (water seeps into the ferrule) or with heat (hair dryer, radiator). Most brushes need 6 to 12 hours to dry fully; wash them in the evening so they are ready by morning.
Quick Daily Method (Between Deep Cleans)
Spray a quick-dry brush cleanser onto a clean cloth or paper towel, swirl the brush until no color transfers, and let air-dry for a minute. This takes 30 seconds per brush and keeps daily-use brushes hygienic between weekly deep washes. It does not replace deep cleaning — it supplements it.
Cleaning Beauty Sponges
Sponges need more attention than brushes:
- Wet the sponge fully and squeeze out excess water.
- Work a pump of gentle cleanser or solid brush soap into it, squeezing repeatedly (do not twist or tear).
- Rinse and repeat until water runs clear — usually 2 to 3 rounds.
- Squeeze out water, reshape, and air-dry in a ventilated spot (not in a closed drawer or bag).
Replace sponges every 1 to 3 months. If a sponge develops tears, permanent stains that will not wash out, or a musty smell, it is done — no cleaning method saves it.
What NOT to Do
- Do not use dish soap regularly. It is too harsh for most bristles (especially natural hair) and strips them over time. Baby shampoo is gentler and just as effective.
- Do not soak brushes upright in water. Water wicks up into the ferrule, dissolves glue, and causes shedding.
- Do not use hot water. Damages bristles and melts the glue.
- Do not dry with heat. Hair dryers warp synthetic bristles and fry natural ones.
- Do not share brushes without cleaning between users — especially eye and lip brushes.
- Do not ignore the handles. Wipe handles occasionally; product buildup there transfers to your hands and then your face.
Natural vs. Synthetic Brushes: Does It Matter?
Both types need regular cleaning, but natural-hair brushes (goat, squirrel, sable) are more delicate — always use the gentlest cleanser and the lightest touch, and consider a conditioning step (a tiny amount of hair conditioner worked through after shampooing keeps natural bristles soft). Synthetic brushes (nylon, taklon) are hardier and tolerate slightly more vigorous cleaning. Either way, the method above works for both.
Signs It Is Time to Replace a Brush
- Bristles are permanently splayed, bent, or frayed even after washing and reshaping
- Excessive shedding that does not stop after a few washes
- The ferrule is loose or wobbly
- Brushes smell musty even when clean (bacteria deep in the base)
- Staining that affects performance (a stained white brush is fine; a brush that transfers old color is not)
Quality brushes last for years with proper care — which makes the few minutes of weekly cleaning a genuine investment. Clean tools are also part of a bigger hygiene picture that includes fresh products and clean hands. If you are building better beauty habits overall, learning how to push back cuticles properly is another small routine that prevents problems, and knowing how to thin out nail polish keeps your nail products performing well instead of going to waste.
Frequently Asked Questions
Can I use regular shampoo instead of baby shampoo?
Baby shampoo is preferred because it is tear-free and very gentle, but a mild regular shampoo works in a pinch. Avoid anything with heavy silicones or strong fragrance.
How do I clean brushes if I have sensitive skin?
Use fragrance-free baby shampoo or a dedicated sensitive-skin brush cleanser, rinse extra thoroughly (residue is the main irritant), and make sure brushes are fully dry before use — damp bristles harbor more bacteria.
Is it okay to clean brushes in the dishwasher or washing machine?
No. The heat, agitation, and detergent are far too harsh and will destroy brushes quickly.
Why do my brushes still smell after washing?
Usually trapped product deep near the ferrule. Try a second wash focusing on the base of the bristles, or a brief pre-soak (bristles only, 5 minutes) in diluted gentle shampoo before washing. Persistent musty smell means it is time to replace.
The Bottom Line
Cleaning makeup brushes is simple: gentle cleanser, lukewarm water, bristles-down rinsing, reshape, and air-dry flat. Deep-clean weekly (sponges daily), spot-clean between washes, and replace tools when they are truly worn out. Your skin will break out less, your makeup will apply better, and your brushes will last years instead of months. For more on keeping your beauty routine hygienic and understanding product safety standards, the FDA’s cosmetics guidance is worth reading, along with American Academy of Dermatology’s skincare basics are a reliable reference.