What Is the Best Caulk to Use Around a Bathtub
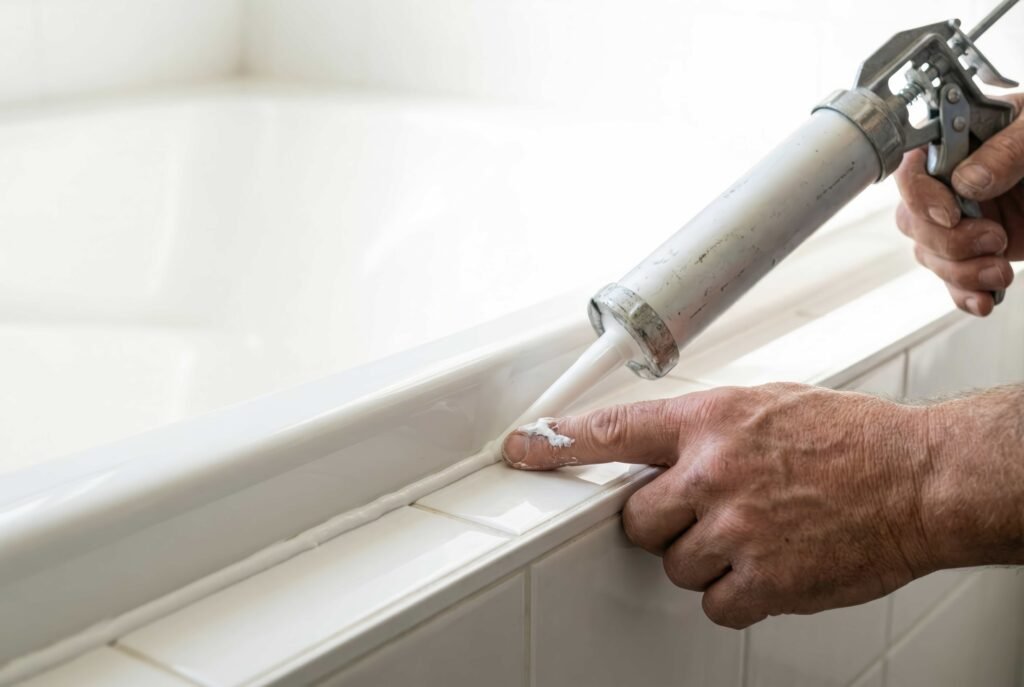
Caulk is the unsung hero of the bathroom — a $8 tube that stands between you and thousands of dollars in water damage. But walk into any hardware store and you’ll face a wall of options: silicone, latex, siliconized latex, kitchen-and-bath, mold-resistant, paintable, non-paintable. Choose wrong and it cracks, peels, or grows mold within months. I learned this the hard way with a “paintable” latex caulk around a tub that failed in under a year.
Here’s what actually works around a bathtub, and how to apply it so it lasts.
What Is the Best Caulk to Use Around a Bathtub?
For bathtubs, the answer is clear: 100 percent silicone caulk, preferably one labeled for kitchen and bath use with mildew resistance. Silicone is waterproof, flexible, and durable — it handles the constant expansion, contraction, and water exposure that destroys other caulk types. A quality silicone job lasts 10–20 years; latex alternatives often fail within 1–3 years in wet areas.
The trade-offs: silicone is harder to apply neatly (it’s stickier and less forgiving), it cannot be painted, and cleanup requires mineral spirits rather than water. These are worth accepting for a bathtub, where waterproofing is everything. For areas that need paint — like where tub surrounds meet painted walls — use a high-quality siliconized latex as a compromise, but keep pure silicone at every water-contact joint.
Silicone vs. Other Types: The Full Comparison
- 100% silicone: Best for tubs, showers, and sinks. Waterproof, flexible, mold-resistant versions available, 10–20 year life. Not paintable, trickier to tool.
- Siliconized latex (latex with silicone added): Easier to apply and paintable, decent water resistance. Good for trim and low-moisture joints. Fails faster in constant-wet areas — don’t use it where the tub meets tile.
- Plain latex/acrylic caulk: Cheapest and easiest, paintable, but shrinks, cracks, and degrades with water exposure. Fine for dry areas (baseboards, crown molding); wrong for bathtubs.
- Polyurethane caulk: Extremely durable and paintable, but hard to tool, messy, and overkill for interior bathrooms. Better suited to exterior applications.
Recommended products: GE Silicone II Kitchen & Bath and DAP 3.0 Kitchen, Bath & Plumbing are widely available, well-reviewed, and include mildew resistance. Whatever brand you choose, verify it says “100% silicone” and “kitchen and bath” — marketing terms like “silicone plus” or “with silicone” usually mean it’s a latex blend, not pure silicone.
Preparation: 90 Percent of a Good Caulk Job
New caulk over old caulk fails fast. Remove all the old caulk first — every bit of it. Use a caulk removal tool or utility knife to cut it away, then clean the joint with mineral spirits (for silicone residue) or denatured alcohol. The surfaces must be clean, dry, and free of soap scum and mildew. If there’s mildew in the joint, kill it with a mold-killing cleaner and let it dry completely — caulking over mildew seals it in to grow underneath.
Fill the tub with water before caulking. This is the pro tip most DIYers miss: a full tub weighs hundreds of pounds and pulls the tub down slightly, opening the joint to its widest. Caulk in this position, let it cure 24 hours, then drain. If you caulk with an empty tub, the first bath stretches and cracks the fresh caulk.
Tape both sides of the joint with painter’s tape, leaving a consistent 1/8 to 1/4-inch gap. This gives you crisp lines and makes silicone’s stickiness manageable.
Application Technique
Cut the caulk tube nozzle at a 45-degree angle, with the opening slightly smaller than the joint width — you can always cut bigger, never smaller. Poke the inner seal (a long nail or the poker on most caulk guns works).
Apply in one continuous bead with steady pressure, moving at a consistent speed. Don’t stop and start — overlaps show. Then tool the joint immediately: wet your finger with soapy water (for silicone, use mineral spirits on your finger or a specialized caulk tool) and smooth the bead in one continuous pass with light pressure. The goal is a slightly concave joint that sheds water.
Remove the tape immediately — while the caulk is still wet — pulling away from the joint at a sharp angle. If you wait until it skins over, the tape pulls the caulk with it. Then don’t touch it for 24 hours. Full cure takes 24–48 hours depending on humidity; keep the shower unused during this time.
Where Exactly to Caulk (and Where Not To)
Caulk the joint where the tub meets the wall/tile, around faucet escutcheons and spout penetrations, and along the floor where it meets the tub base. Do not caulk the weep holes at the bottom of a tub spout with a diverter, and don’t caulk over grout lines in the field of tile — caulk is for changes of plane (where two surfaces meet at an angle), grout is for between tiles on the same plane.
One common mistake: caulking the inside edge of a shower door track’s bottom rail, which traps water. Caulk the outside only, so any water that gets in can drain out.
Maintenance and When to Recaulk
Inspect caulk lines every six months. Recaulk when you see: cracking, peeling, gaps, discoloration that doesn’t clean off, or soft/mushy texture. Don’t caulk over failing caulk — remove and replace. With quality silicone and proper prep, expect 10+ years; in practice, most bathrooms need attention every 5–10 years depending on use and ventilation.
Between replacements, keep caulk clean — wipe it down during regular bathroom cleaning so soap scum doesn’t feed mildew. Good ventilation (see our guide to preventing bathroom mold) extends caulk life significantly. For the full bathroom picture, our small bathroom remodel cost guide covers when recaulking is enough versus when it’s time for bigger work.
Troubleshooting Common Caulk Problems
Caulk won’t stick: the surface wasn’t clean enough, or old silicone residue remains — silicone doesn’t bond to old silicone. Remove more aggressively and clean with mineral spirits. Bead looks lumpy: you stopped and started, or the nozzle opening was too large. Cut a smaller opening next time and commit to one continuous pass. Caulk cracked within months: the joint is moving more than the caulk can handle (common with latex caulk on tubs — switch to silicone), or it was applied too thin. Mildew growing on the caulk: improve ventilation and clean regularly; if mildew is under the caulk, it must be removed and replaced — surface cleaning won’t reach it.
Practical Takeaway
Use 100 percent silicone kitchen-and-bath caulk around the tub — nothing else lasts. Remove every trace of old caulk, clean and dry the joint thoroughly, fill the tub with water before applying, tape for crisp lines, tool in one smooth pass, and let it cure a full 24 hours. It’s a $15, two-hour project that protects against thousands in water damage. Do the prep right and you won’t think about it again for a decade. Family Handyman’s caulking tutorials show the tooling technique in action if you want a visual reference.