How Do I Fix a Running Toilet
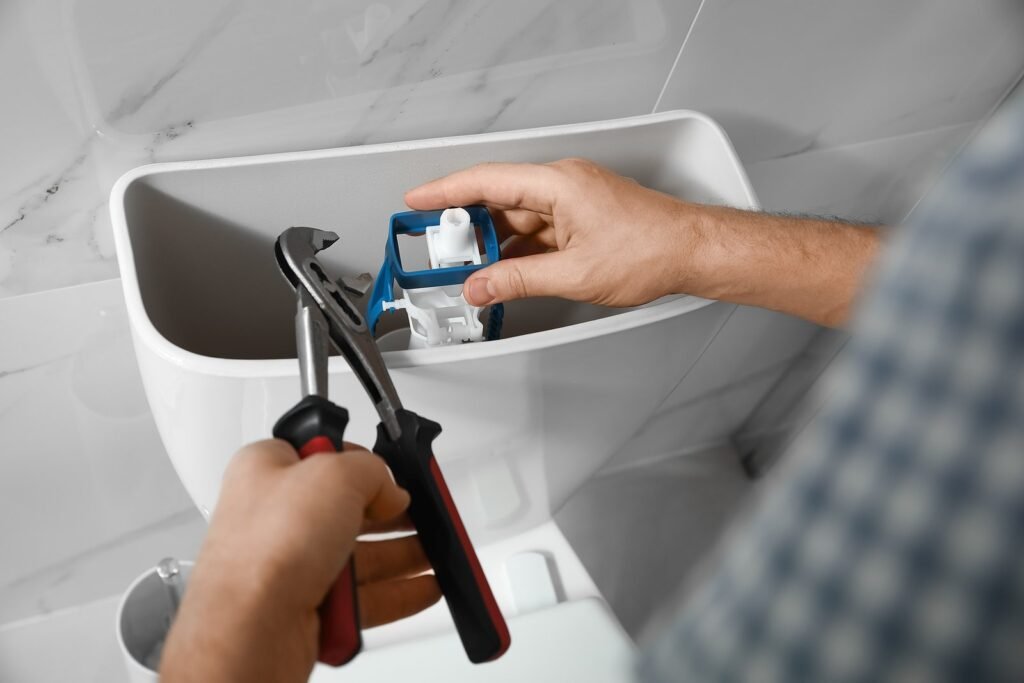
Professional plumber repairing toilet in bathroom, closeup
A running toilet is the plumbing equivalent of a dripping faucet with ambition — it can waste up to 200 gallons of water per day, which shows up on your water bill as a very unpleasant surprise. I’ve diagnosed this in three different toilets now, and every time the culprit was a $10 part and a 20-minute fix. Plumbers charge $150+ for this; you can do it yourself with no experience.
Here’s how to fix a running toilet, step by step — including how to figure out which part is actually broken.
How Do I Fix a Running Toilet?
First, understand what’s happening inside the tank. A toilet has two main mechanisms: the fill valve (brings water into the tank) and the flush valve with flapper (releases water into the bowl). A “running” toilet means water is continuously flowing — either leaking from tank to bowl (flapper problem) or the fill valve never shutting off (fill valve or float problem). The fix depends on which one.
Step 1: Diagnose the Problem (2 Minutes)
Remove the tank lid (carefully — it’s heavy porcelain and breaks if dropped) and look inside. Then run this test:
- The food coloring test: Add a few drops of food coloring to the tank water, wait 15–20 minutes without flushing. If color appears in the bowl, water is leaking from tank to bowl — it’s a flapper or flush valve problem. If no color appears but the toilet still runs, it’s a fill valve problem.
- The water level check: The water level should sit about 1 inch below the overflow tube. If water is flowing into the overflow tube, the fill valve isn’t shutting off — either the float is set too high or the valve is failing.
- The jiggle test: If jiggling the handle stops the running, the flapper isn’t sealing — either the chain is tangled or the flapper is worn.
Fix 1: Adjust or Replace the Flapper (Most Common)
The flapper — the rubber seal at the bottom of the tank — is the number-one cause of running toilets. They warp, crack, and accumulate mineral buildup over 3–5 years.
Check the chain first: it should have about 1/2 inch of slack when the flapper is closed. Too tight and it holds the flapper open; too tangled or too long and it gets caught underneath. Adjust the chain length on the handle arm — free fix, two minutes.
If the flapper itself is worn: turn off the water supply valve behind the toilet, flush to empty the tank, unhook the old flapper from the overflow tube pegs, and snap on a new one ($5–$10 — bring the old one to match the size, as 2-inch and 3-inch flappers aren’t interchangeable). Reconnect the chain with proper slack, turn the water back on, and test. Also wipe the flush valve seat (the rim the flapper seals against) — mineral buildup there prevents sealing even with a new flapper.
Fix 2: Adjust or Replace the Fill Valve
If the water level is too high or the valve hisses constantly, the fill valve needs attention. For older ball-float valves (the arm with a ball on the end): bend the arm gently downward to lower the shutoff point, or adjust the screw at the top of the valve. For modern cup-float valves: squeeze the clip on the float and slide it down the valve shaft to lower the water level.
If adjustment doesn’t work — the valve keeps running, won’t shut off, or takes forever to fill — replace the fill valve ($10–$15, universal kits fit almost all toilets). Turn off the water, flush to empty the tank, sponge out remaining water, disconnect the supply line and unscrew the old valve’s lock nut underneath, then install the new valve per its instructions (they’re well-illustrated and genuinely easy). Set the water level to 1 inch below the overflow tube. Total time: 20–30 minutes.
Fix 3: The Handle and Trip Lever
Sometimes the problem is upstream: a sticking handle or corroded trip lever holds the flapper chain up. If the handle feels loose, stiff, or doesn’t spring back, replace it ($8–$12) — it unscrews from inside the tank with a reverse-threaded nut (turn clockwise to loosen, opposite of normal). While you’re in there, check that the trip lever arm isn’t corroded or bent.
When It’s Not Worth Fixing: Replace the Guts Entirely
If your toilet has multiple failing parts — old flapper, cranky fill valve, corroded handle — buy a complete toilet repair kit ($25–$35) and replace everything at once. It’s barely more work than replacing one part, and you get a toilet that works like new. Honestly, if I’m opening a toilet tank for anything beyond a chain adjustment, I often just do the full kit — the parts are cheap and my time isn’t free.
Consider a dual-flush conversion kit ($25–$40) while you’re at it — it adds a half-flush option that saves thousands of gallons per year. Easy install, real savings.
When to Call a Plumber
Call a pro if: water is leaking from the base of the toilet (wax ring failure — a bigger job involving removing the toilet), the supply valve won’t turn or leaks when you touch it (corroded shutoff valves can break and flood), the toilet rocks on the floor (damaged flange or subfloor), or you’ve replaced the internals and it still malfunctions (possible hairline tank crack). A pro toilet repair runs $150–$300; a full toilet replacement runs $400–$800 installed.
For other bathroom fixes, our guide to fixing a leaky faucet covers the sink side, and the best caulk for bathtubs handles the waterproofing. If the bathroom needs bigger work, see small bathroom remodel costs.
Preventing Future Problems
Don’t use drop-in tank cleaners (the blue tablets) — the chlorine degrades rubber flappers and seals prematurely, causing exactly the running you’re trying to fix. Use in-bowl cleaners instead. Don’t flush wipes (even “flushable” ones), feminine products, or cotton balls — they don’t break down and cause clogs that stress the whole mechanism. And replace flappers proactively every 3–5 years; it’s a $8 part that prevents a $200 water bill surprise.
Practical Takeaway
Diagnose with the food coloring test, check the chain slack first (free fix), replace the flapper if it’s worn ($5–$10), adjust or replace the fill valve if the water level is wrong ($10–$15), and consider a full rebuild kit if multiple parts are aging. It’s a 20-minute job that stops hundreds of gallons of daily waste. Your water bill — and your sanity — will thank you. This Old House’s toilet repair videos walk through the fill valve replacement step by step.